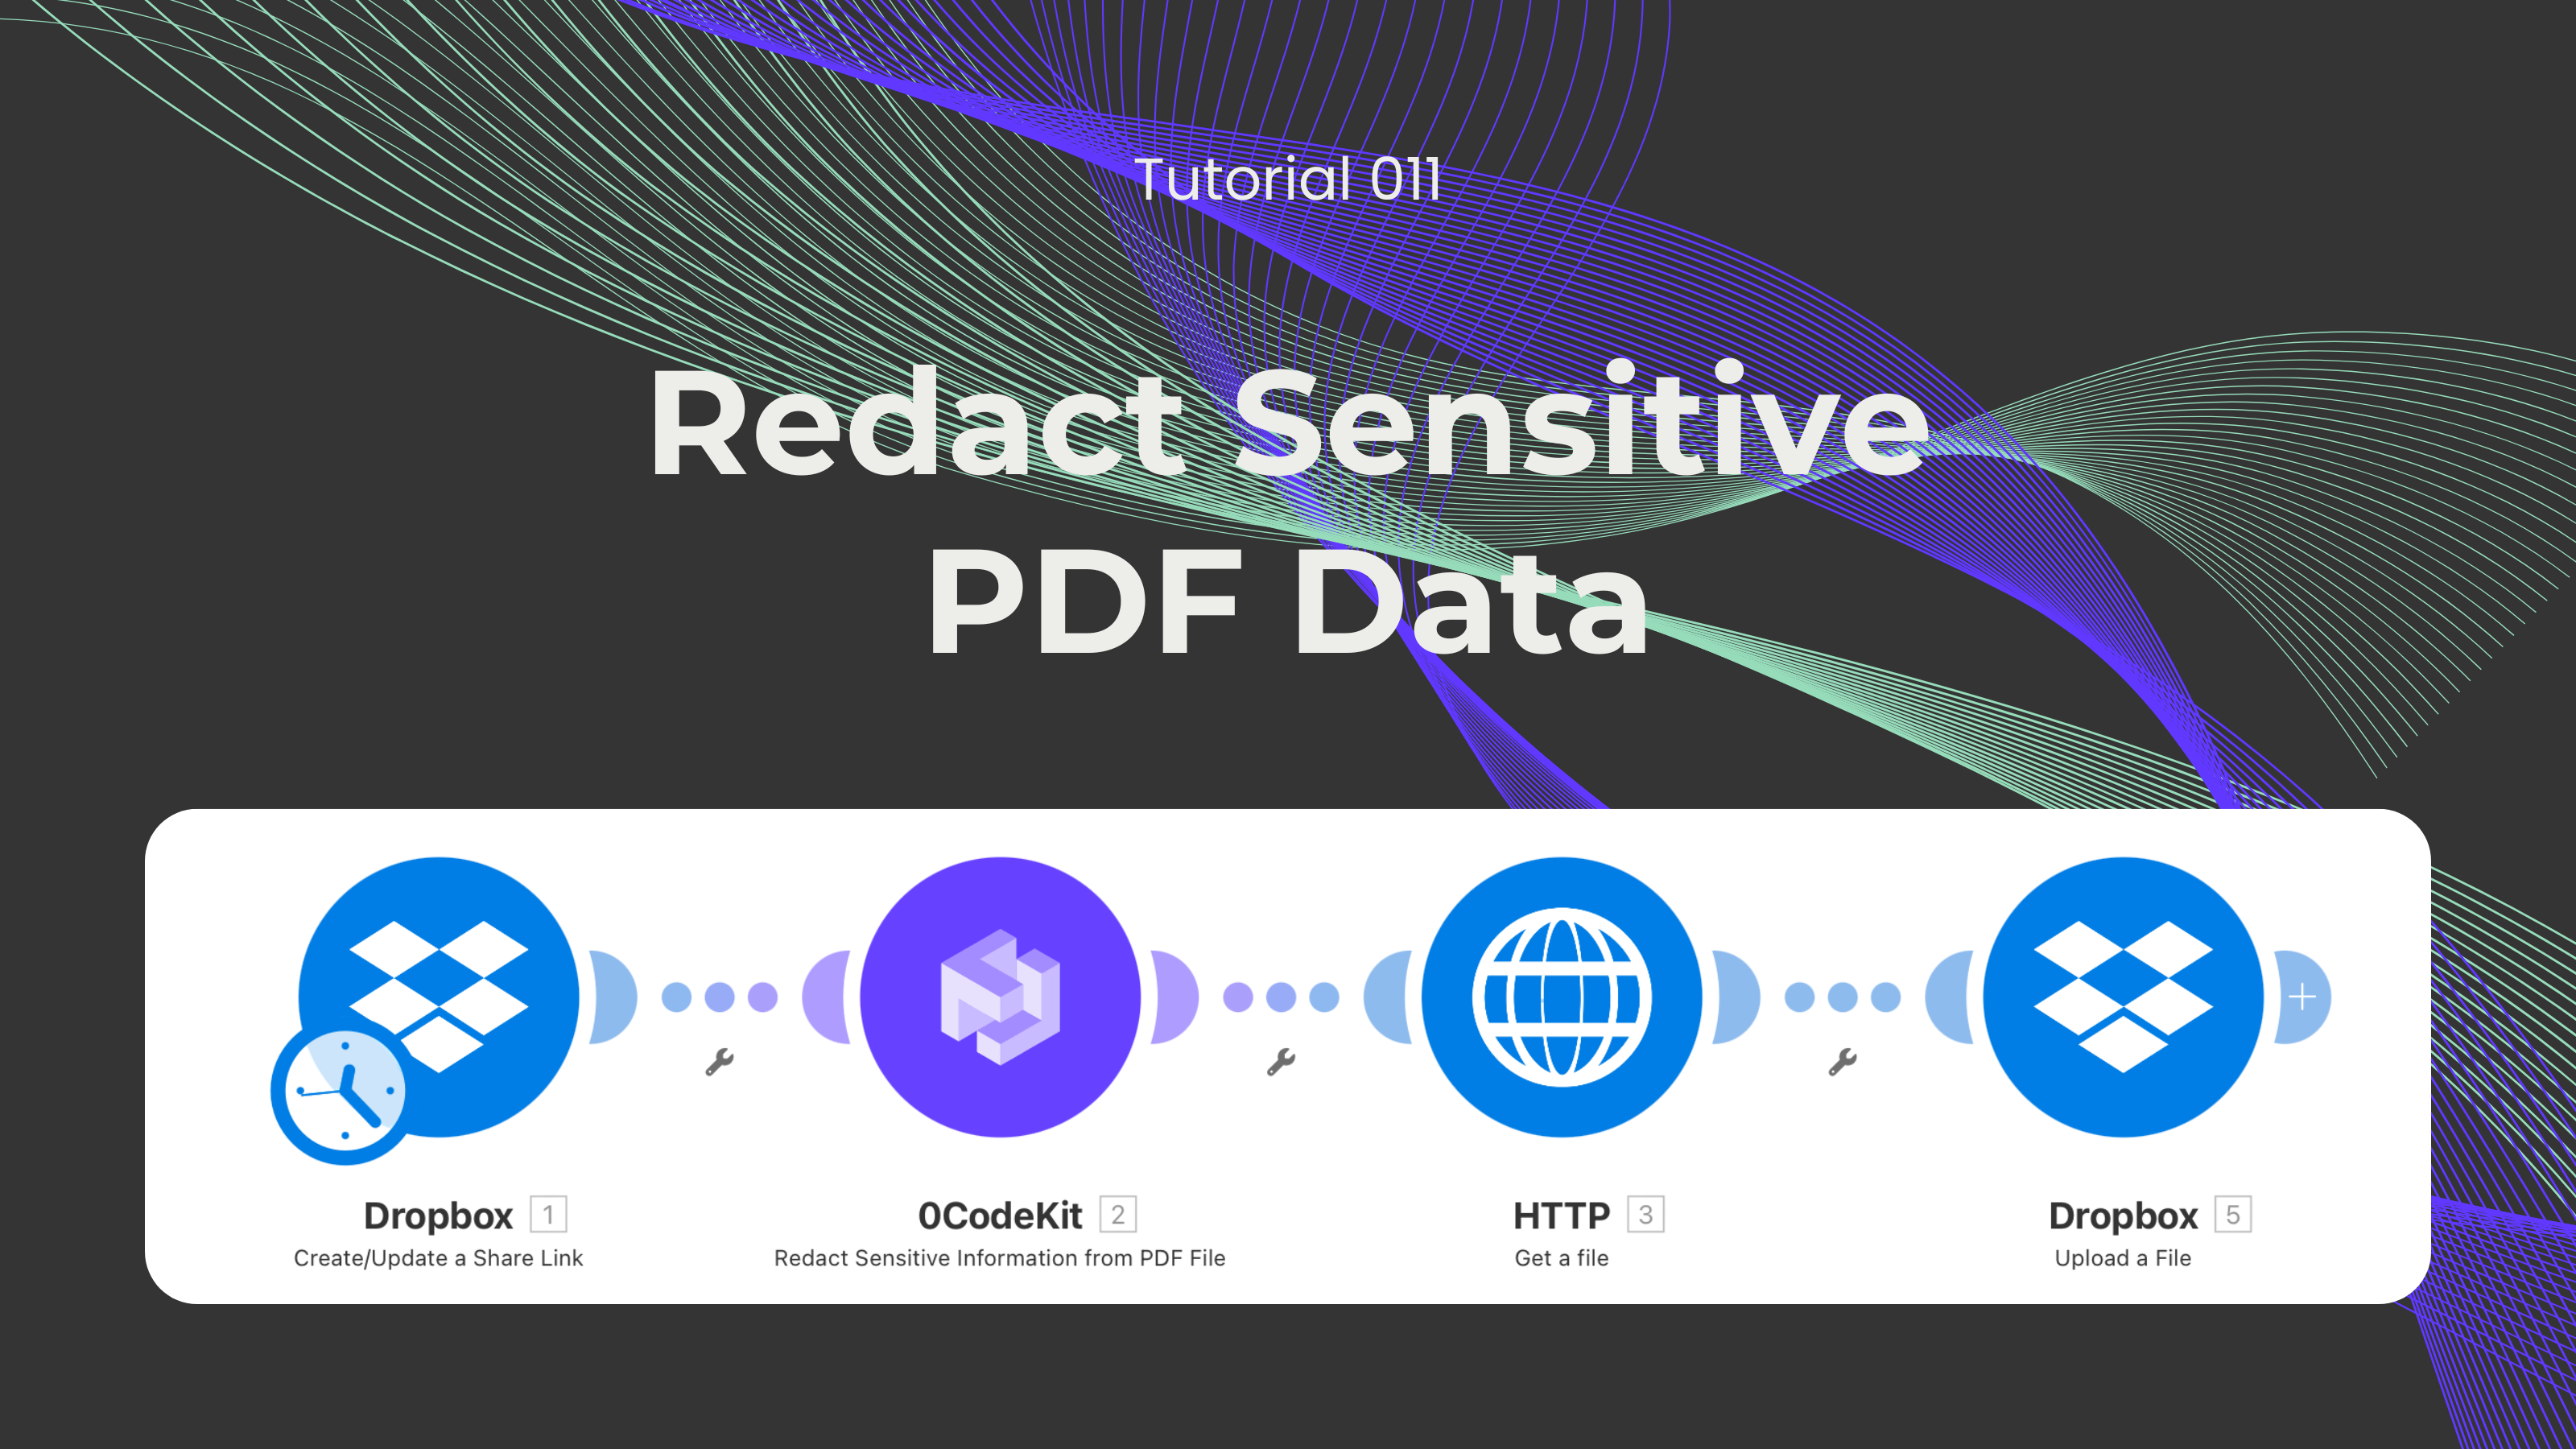
PDF Redaction Tutorial
.png)
Everyone handles confidential information, whether it is personal identifiable information, financial data, or company data. The thing about these kinds of documents is that certain data must be protected, and it cannot be shared that easily. Therefore, over time, people have adopted certain techniques to censor this sensitive information and prevent other people from gaining access to these details.
However, agreeing on what information should be considered sensitive and censoring it one at a time can be time-consuming. Luckily, we have developed an endpoint that could tackle all of this at once. In this blog, we would like to showcase our transcription tool, which can be integrated with other apps and endpoints to automate your workflow.
Not a fan of reading? No problem! Check out our quick, easy-to-follow video tutorial to learn everything you need!
The first step is to upload the desired document into a storage solution, such as Dropbox or Google Drive. Then, we sign up or log into one automation platform where this feature is available (Make, Zapier, and n8n).
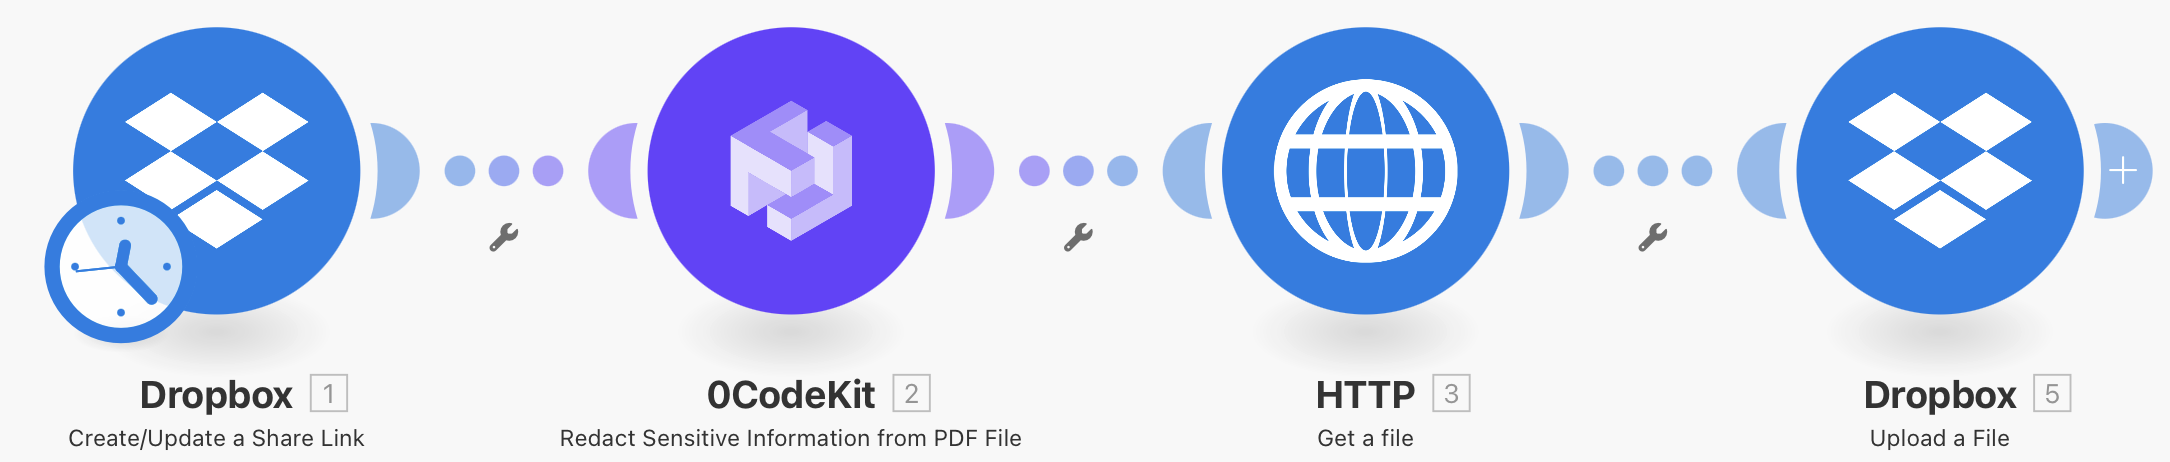
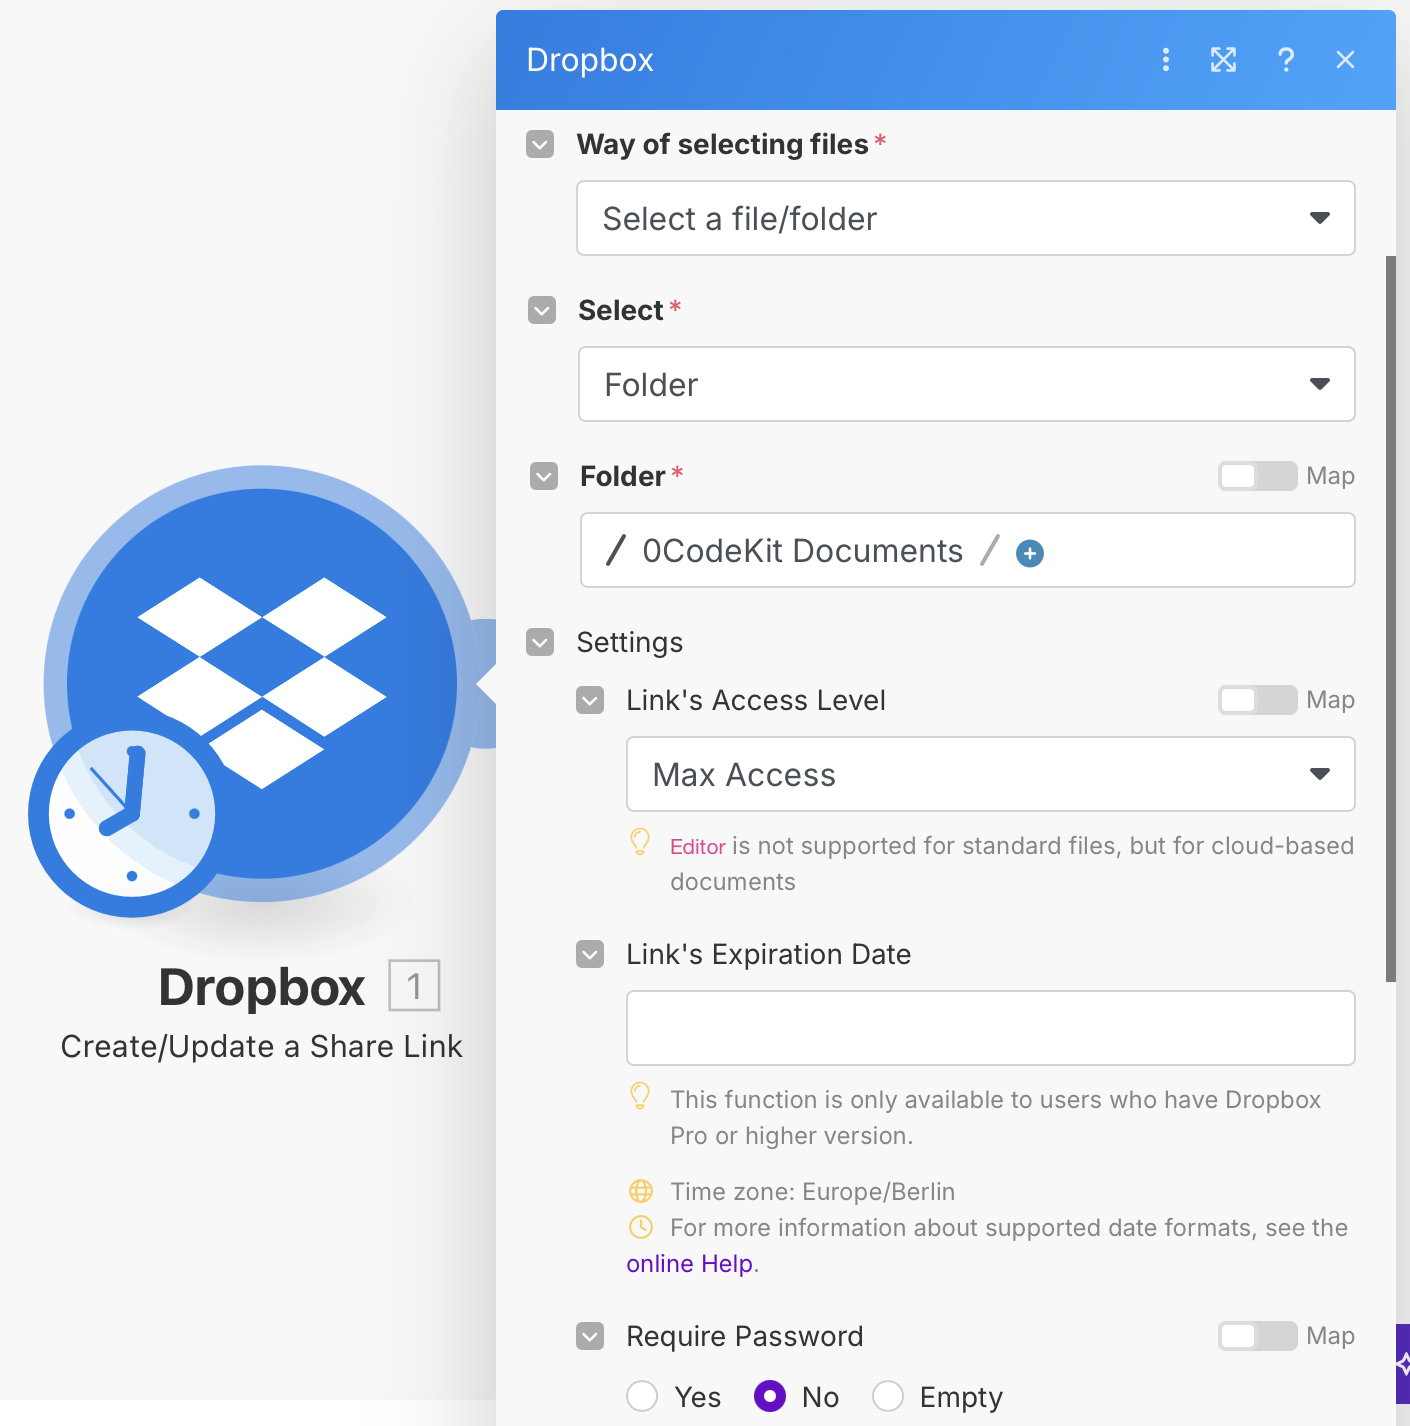
After that, we can set up the first Dropbox module and choose the event called "Create/Update a Share Link", which will create a URL for the confidential documents. This way, 0CodeKit will be able to redact the PDF. To set it up, we need to choose the specific folder or file that we want to redact, give the link full access so it can analyse and remove specific information, and eliminate the password requirement.
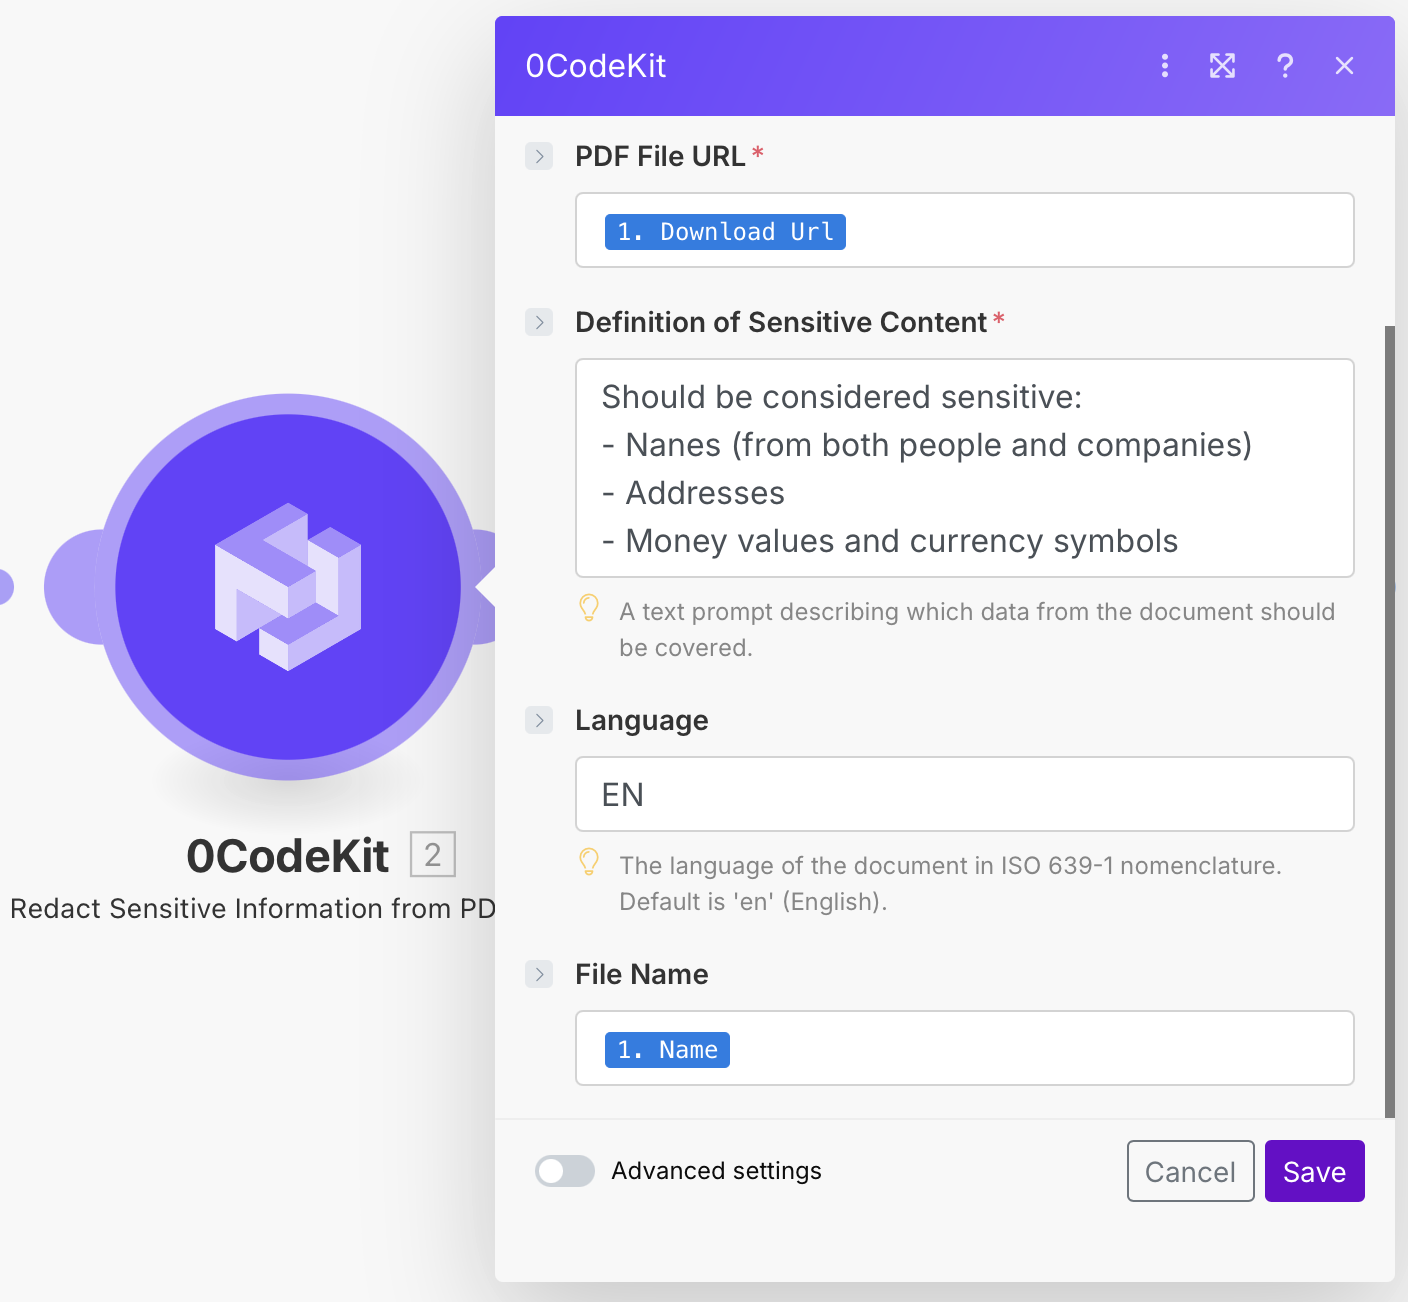
Then, we integrate a 0CodeKit module with the event "Redact Sensitive Information from PDF File" that will cover all confidential information. For the important part, we now have to tell the endpoint what should be considered sensitive content, we have to add the "Download URL" icon for 0CodeKit to access the document, what language is used in the document (optional), and give the file a name.
Later, we need an HTTP module with the event "Get a File" that will take the redacted PDF to send it back to Dropbox. Here, we only need to enter the "URL" icon into the URL field.

Finally, we add another Dropbox module with the event "Upload a File". We only need to choose the folder we want to upload it to, and click on "HTTP - Get a File". Once done, we can execute the scenario and receive our redacted PDF.
