January 2025 Endpoint of the Month
.png)
Optical Character Recognition (OCR) was first introduced in the 70s by Ray Kurzweil, an American computer scientist who developed and marketed the "omnifont OCR". This technology was able to process printed text in almost any font, which seemed unthinkable at that time. OCR technology is now widely accessible as a cloud-based service via mobile devices and desktops.
Moreover, it has evolved even further and, nowadays, it can process other documents, such as camera images, scanned documents, and image-only PDF documents. As a result, individuals and businesses can now simplify digitalization by handling physical documents like study materials, contracts, invoices, forms, or IDs, and make them available on digital devices.
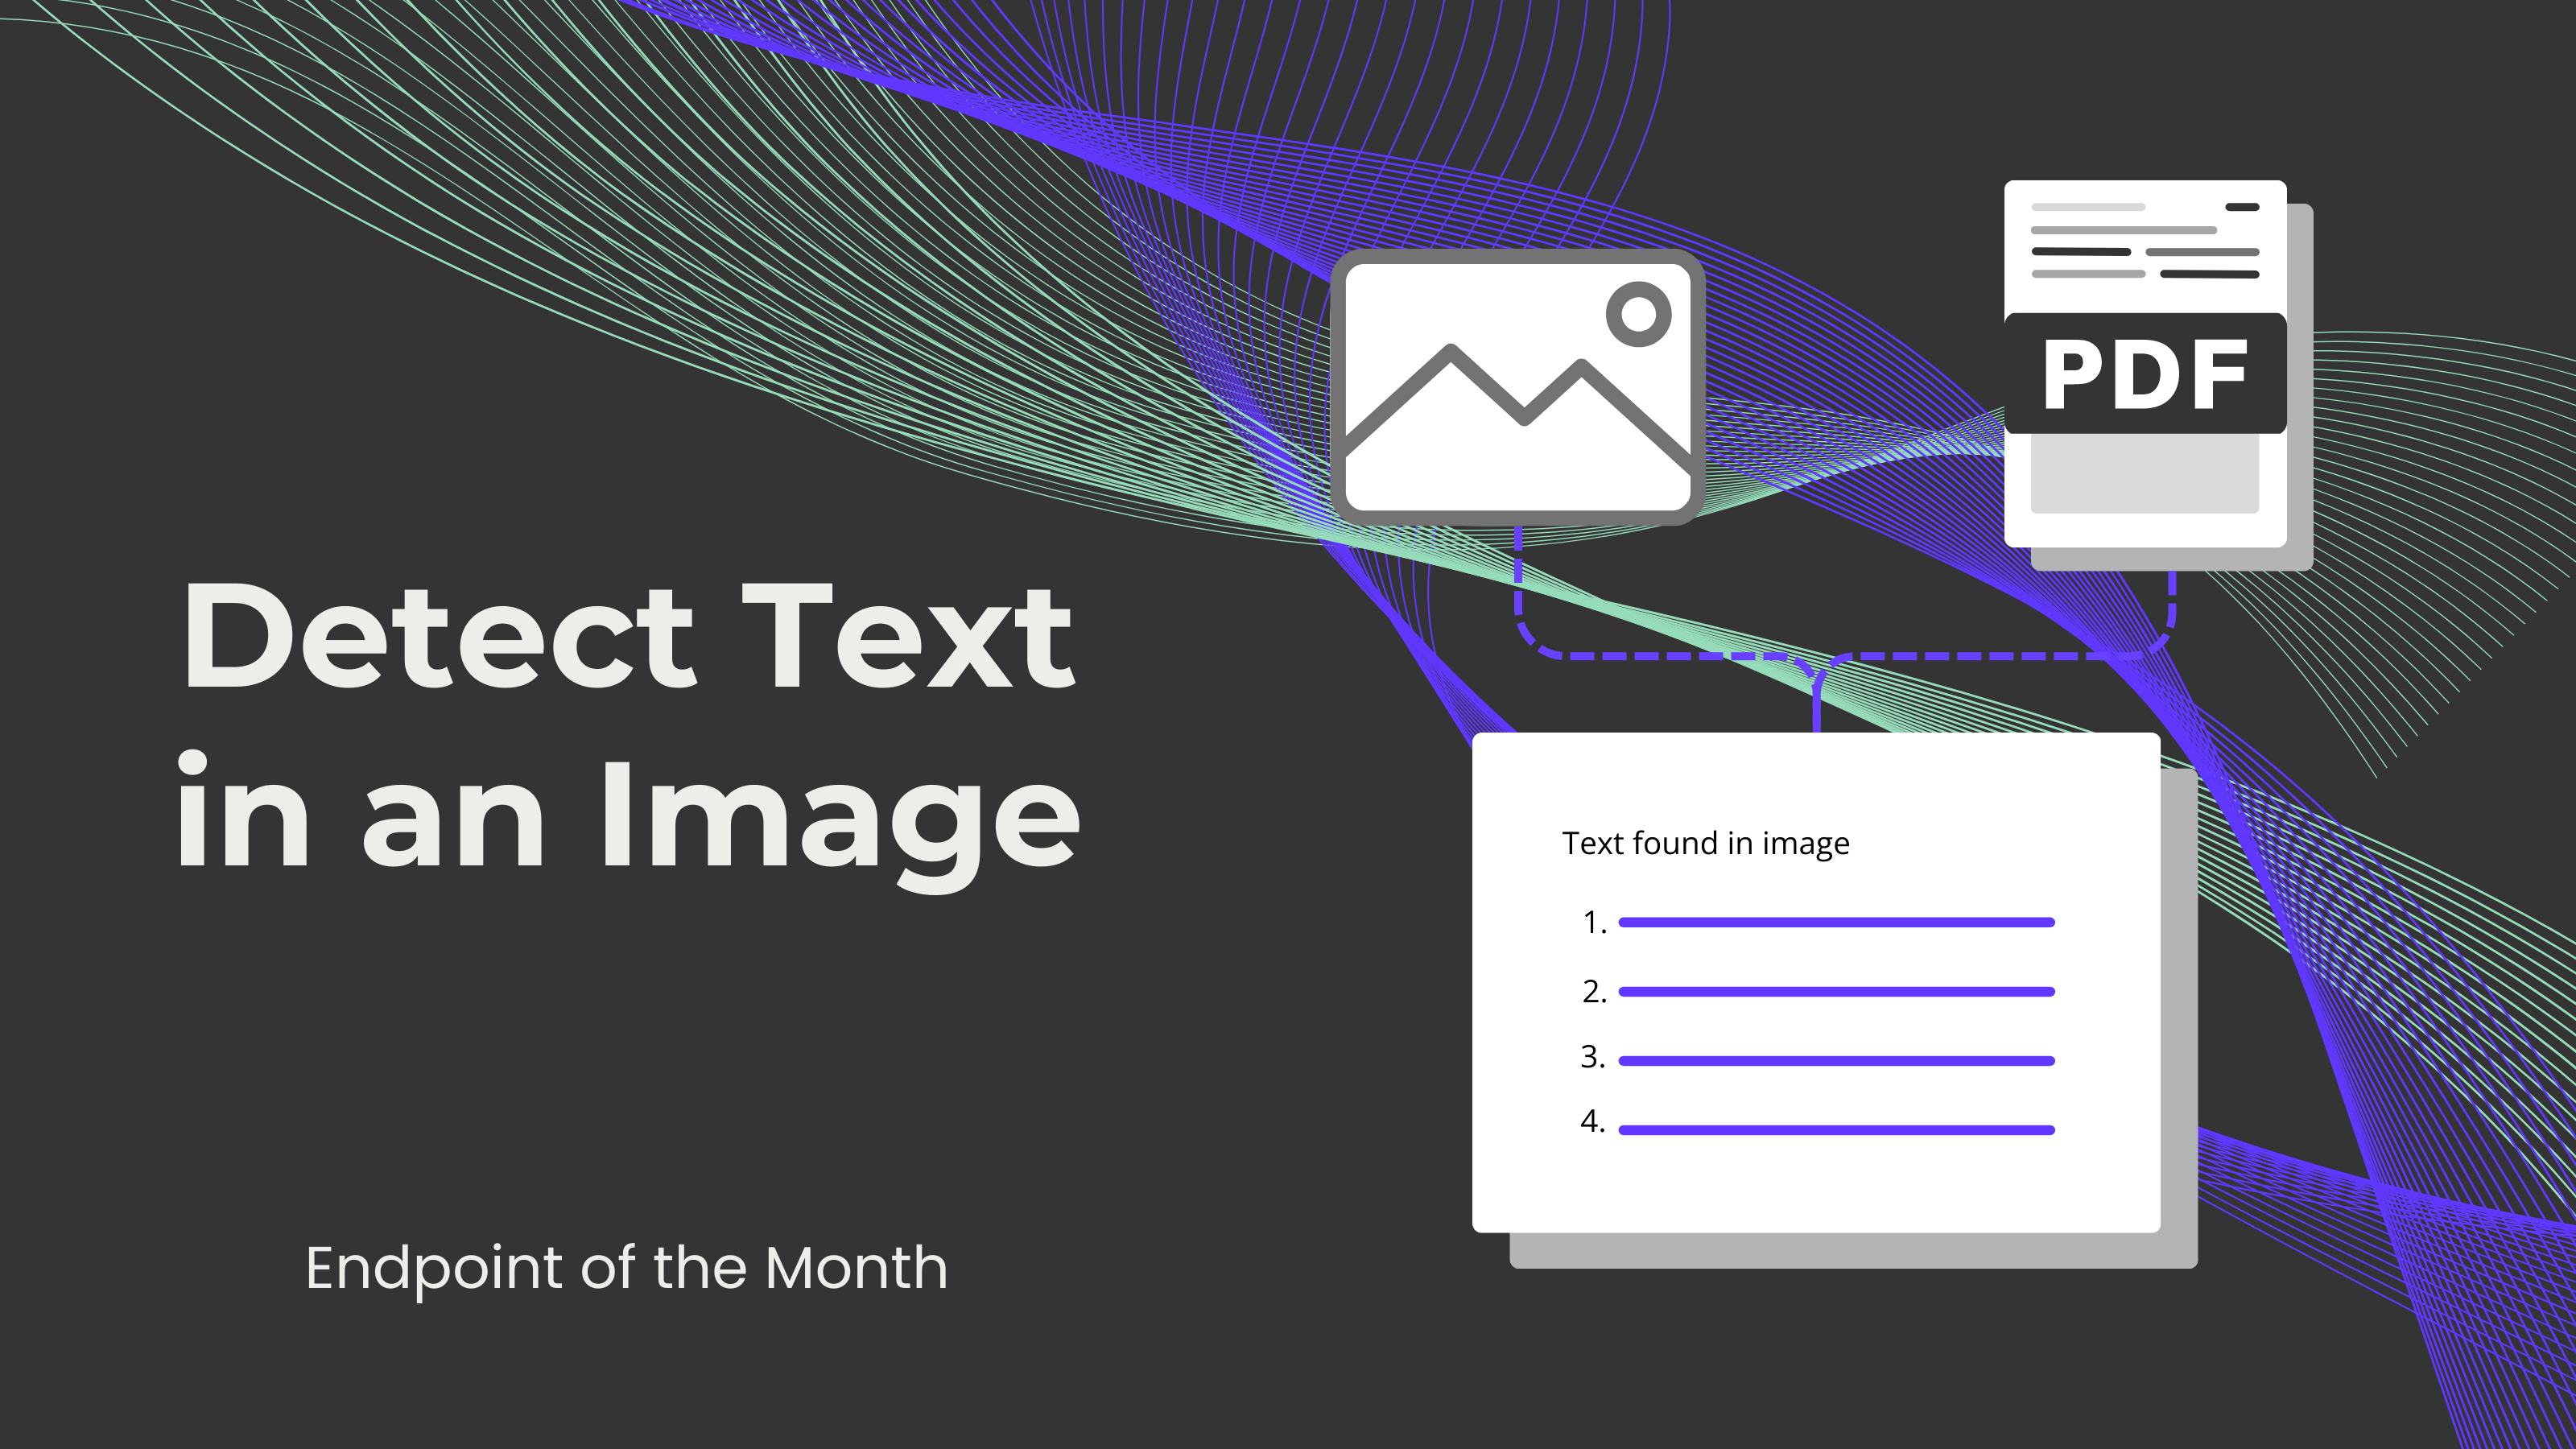
With this in mind, we developed two endpoints that make use of Optical Character Recognition to identify and extract text bodies from images or PDFs. In this blog, we've decided to focus on the OCR endpoint that processes images because we believe that this feature is innovative and can be useful for many people, businesses, and situations. Therefore, January's endpoint of the month is the Detect Text in an image endpoint.
Note: This feature will request a URL to be able to access the document. Therefore, we'll need to set up a content management software, like Dropbox or Google Drive, and create a URL for a document with 0CodeKit.
The first step is to upload the desired document into one of these software programs. Then, we sign up or log into one automation platform where this feature is available (Make, Zapier, and n8n). After that, we can set up the first Dropbox/Google Drive module and choose the feature called "Watch Files", which will look at a specified folder, and it'll trigger whenever a file is uploaded. Later, we need to add a second Dropbox/Google Drive module with the feature "Download File" for the 0CodeKit to access this document.
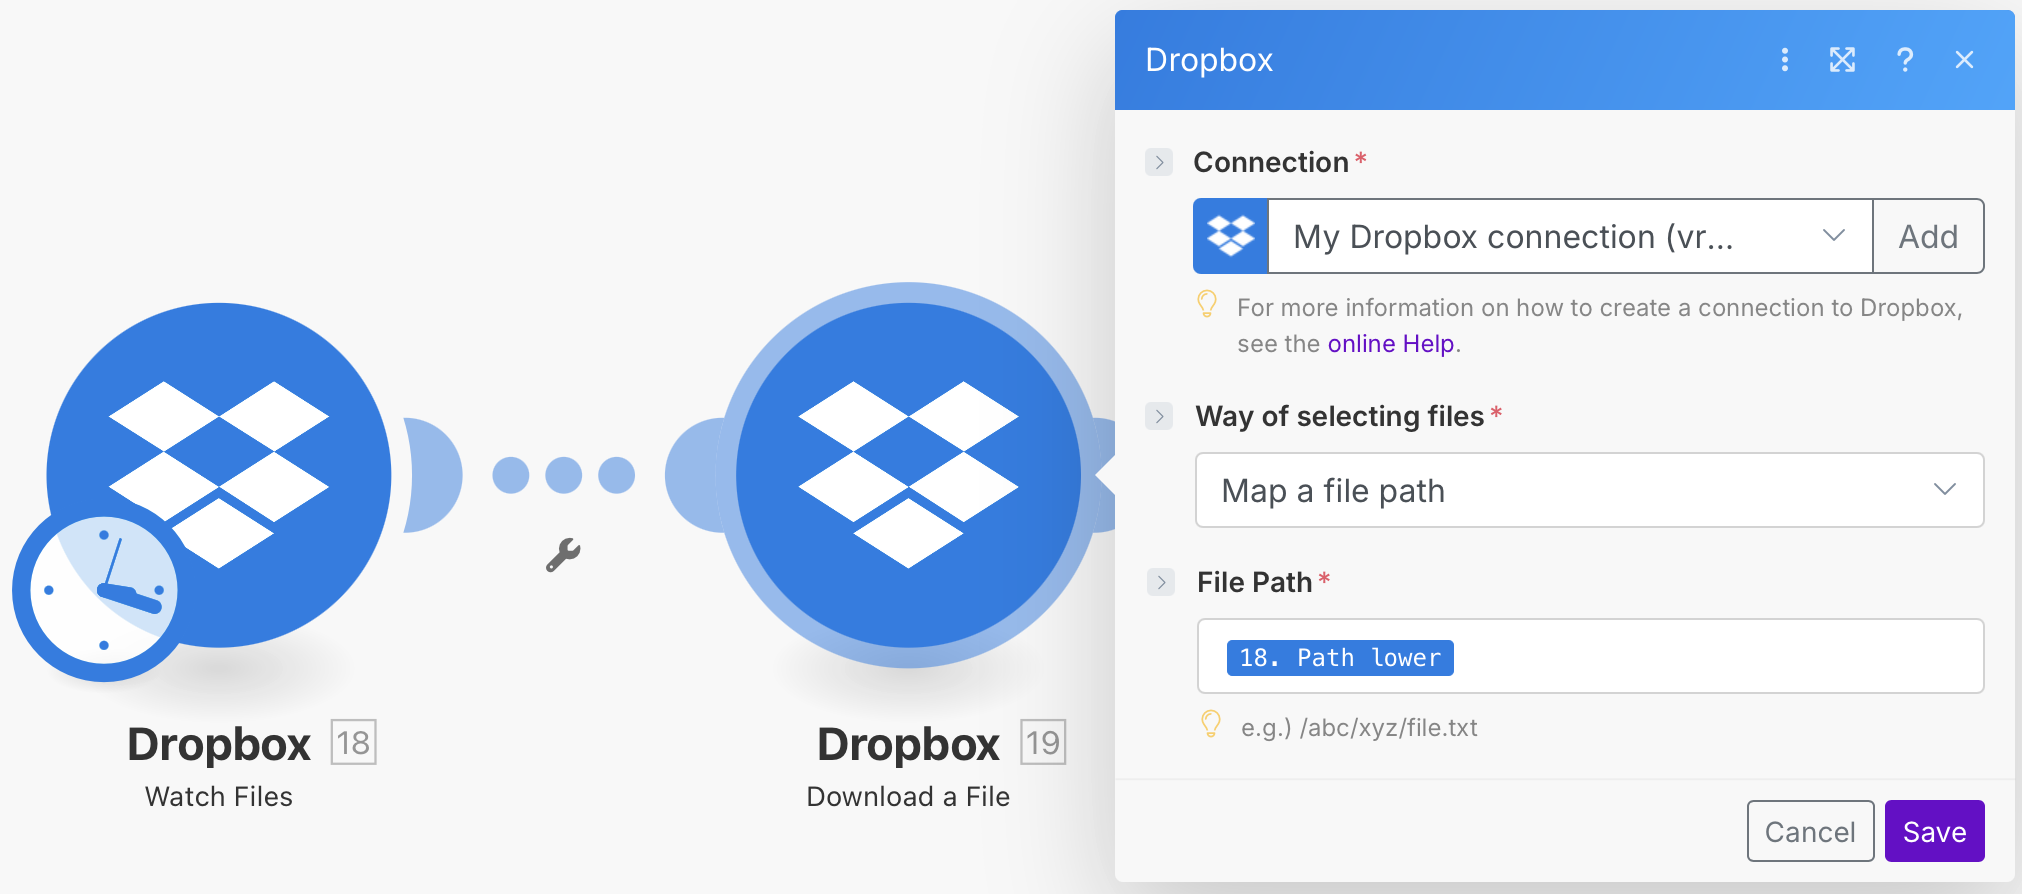
Once the Dropbox/Google Drive module has been set up, we must integrate the 0CodeKit app and find the feature "Create temporary URL to file" for 0CodeKit to be able to access the document via the URL. Here, we only have to click on the option "Dropbox/Google Drive - Download a File". After, we can add the last 0CodeKit module "Detect Text in a Picture with OCR AI" and drag the "Temporary File URL" item to the "Image URL" field. Finally, we click on "Save" and can now execute the scenario.
