Get Started with 0CodeKit Tutorial


0CodeKit is a toolbox for no-code and low-code development tools. Most of our tools are no-code, which means that anyone, no matter their level of knowledge or experience in programming, can create apps and workflows. Even though we offer code endpoints, this does not mean that users don't have to write every single line of code themselves. We also offer tools that make coding easier.
But how can this be done? Easy, APIs combined with automation. Our tools can integrate, manage, and automate processes between platforms. Our endpoints can be found on automation platforms like Make, Zapier, n8n, Workato, and Integrately.
On our features, you can find over 140 endpoints, all for different purposes. We have a variety of tools that can be divided into several categories, including AI, code, PDF, image, business, and storage. Moreover, you can also filter the endpoints depending on the platform you can find them.

We use a pay-as-you-go model, which means that users only pay for the resources they use. If you were to use all of your credits, we also have a top-up option on our interface, where you can set a predetermined number of credits that you wish to get. Please note that our credit cost system has recently changed, and the cost now depends on the amount of resources each endpoint uses. You can read more about this change here.
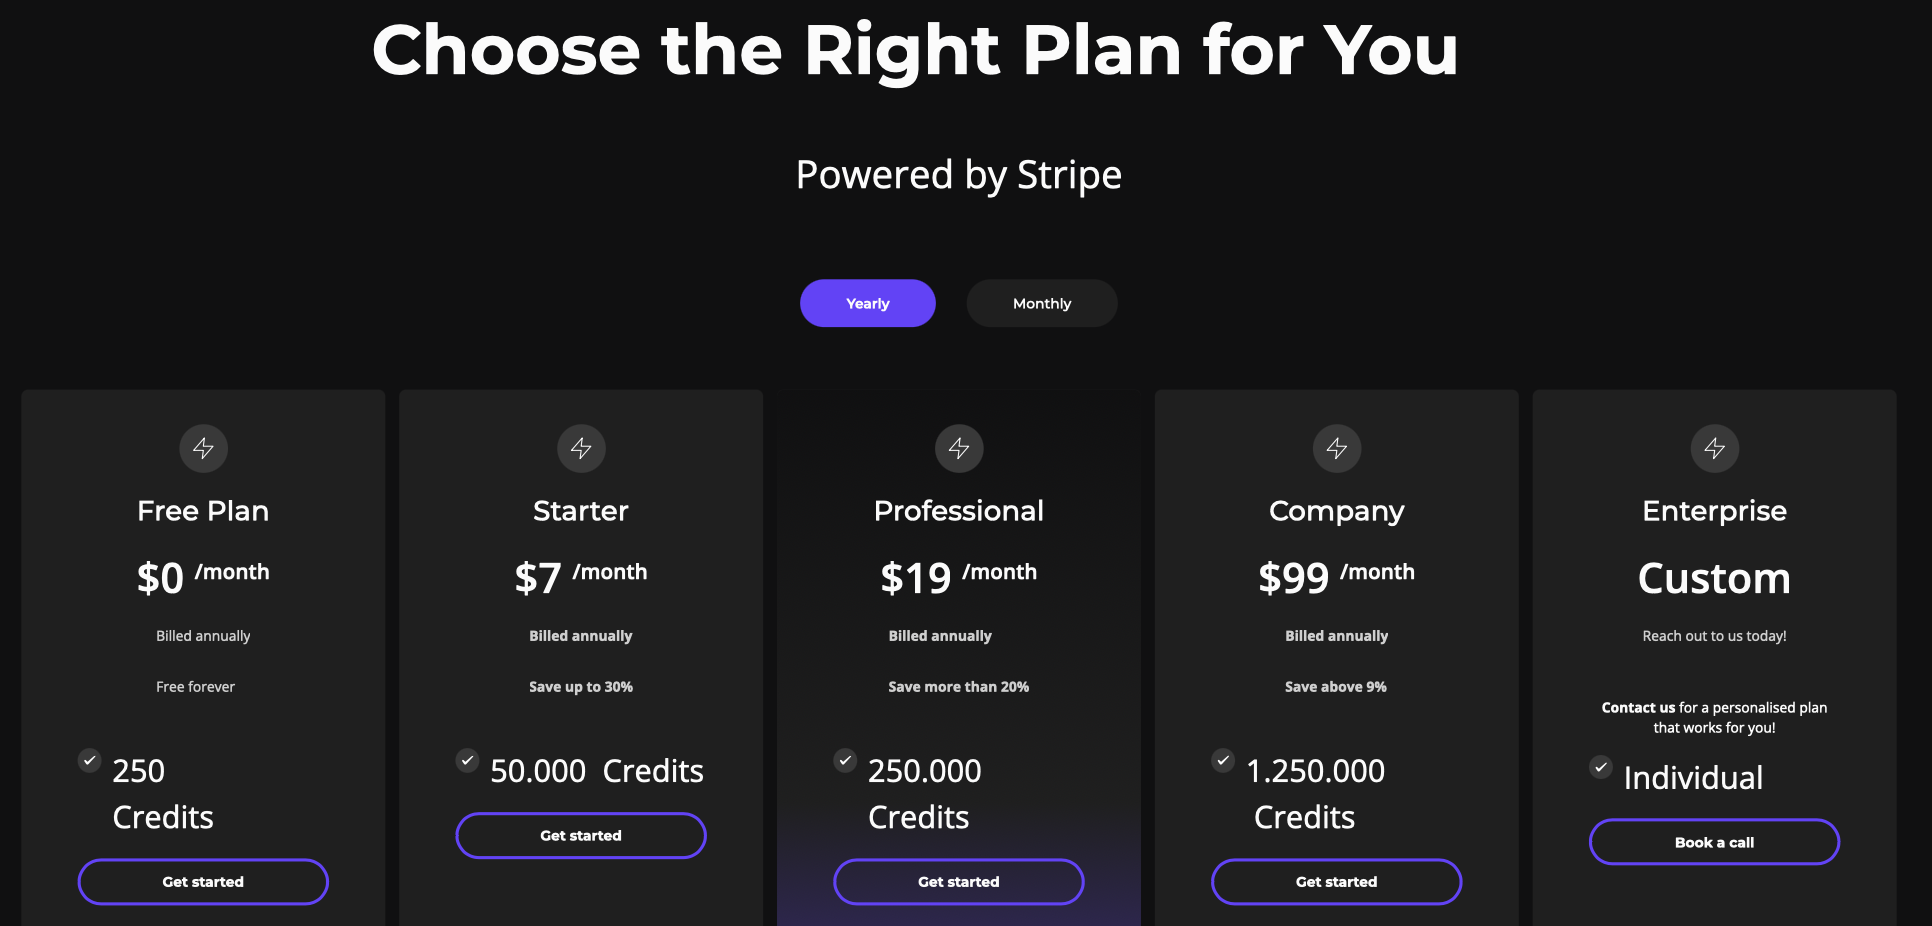
We also offer a free plan, which is perfect if you're trying 0CodeKit for the first time or testing basic endpoints. It's important to mention that with the free plan, users don't have access to the AI endpoints. You can save up to 30% with our yearly paid plans!

Are you ready to create your account? Here's a step-by-step guide:
If you want to start with the free version, you can simply click on the "Sign Up & In" button or use this link: https://my.0codekit.com/en/auth/register
If you want a paid plan, you have to go to the pricing tab and click on the "Get Started" button of your chosen plan.
You have to enter your name, your email address, think of a password, and, if you are on a paid plan, choose a payment method. Then you click on "Register" and that's it!
After registering, you'll gain access to our user interface. On the main tab, you'll find all your account details, including your email used, an overview of your credits, the type of subscription you have, and your API key (IMPORTANT: Do NOT share your API key with anyone, not even the 0CodeKit team).
On the services tab, it'll take you to the services web page in 0CodeKit to see all available endpoints.
On the pricing tab, you can see again the different paid plans, and you have the option to upgrade to one of those.
The usage table, usage chart, and resource tabs are tools that we've built for users to manage and track their endpoint use. You can find more information about these tools here.
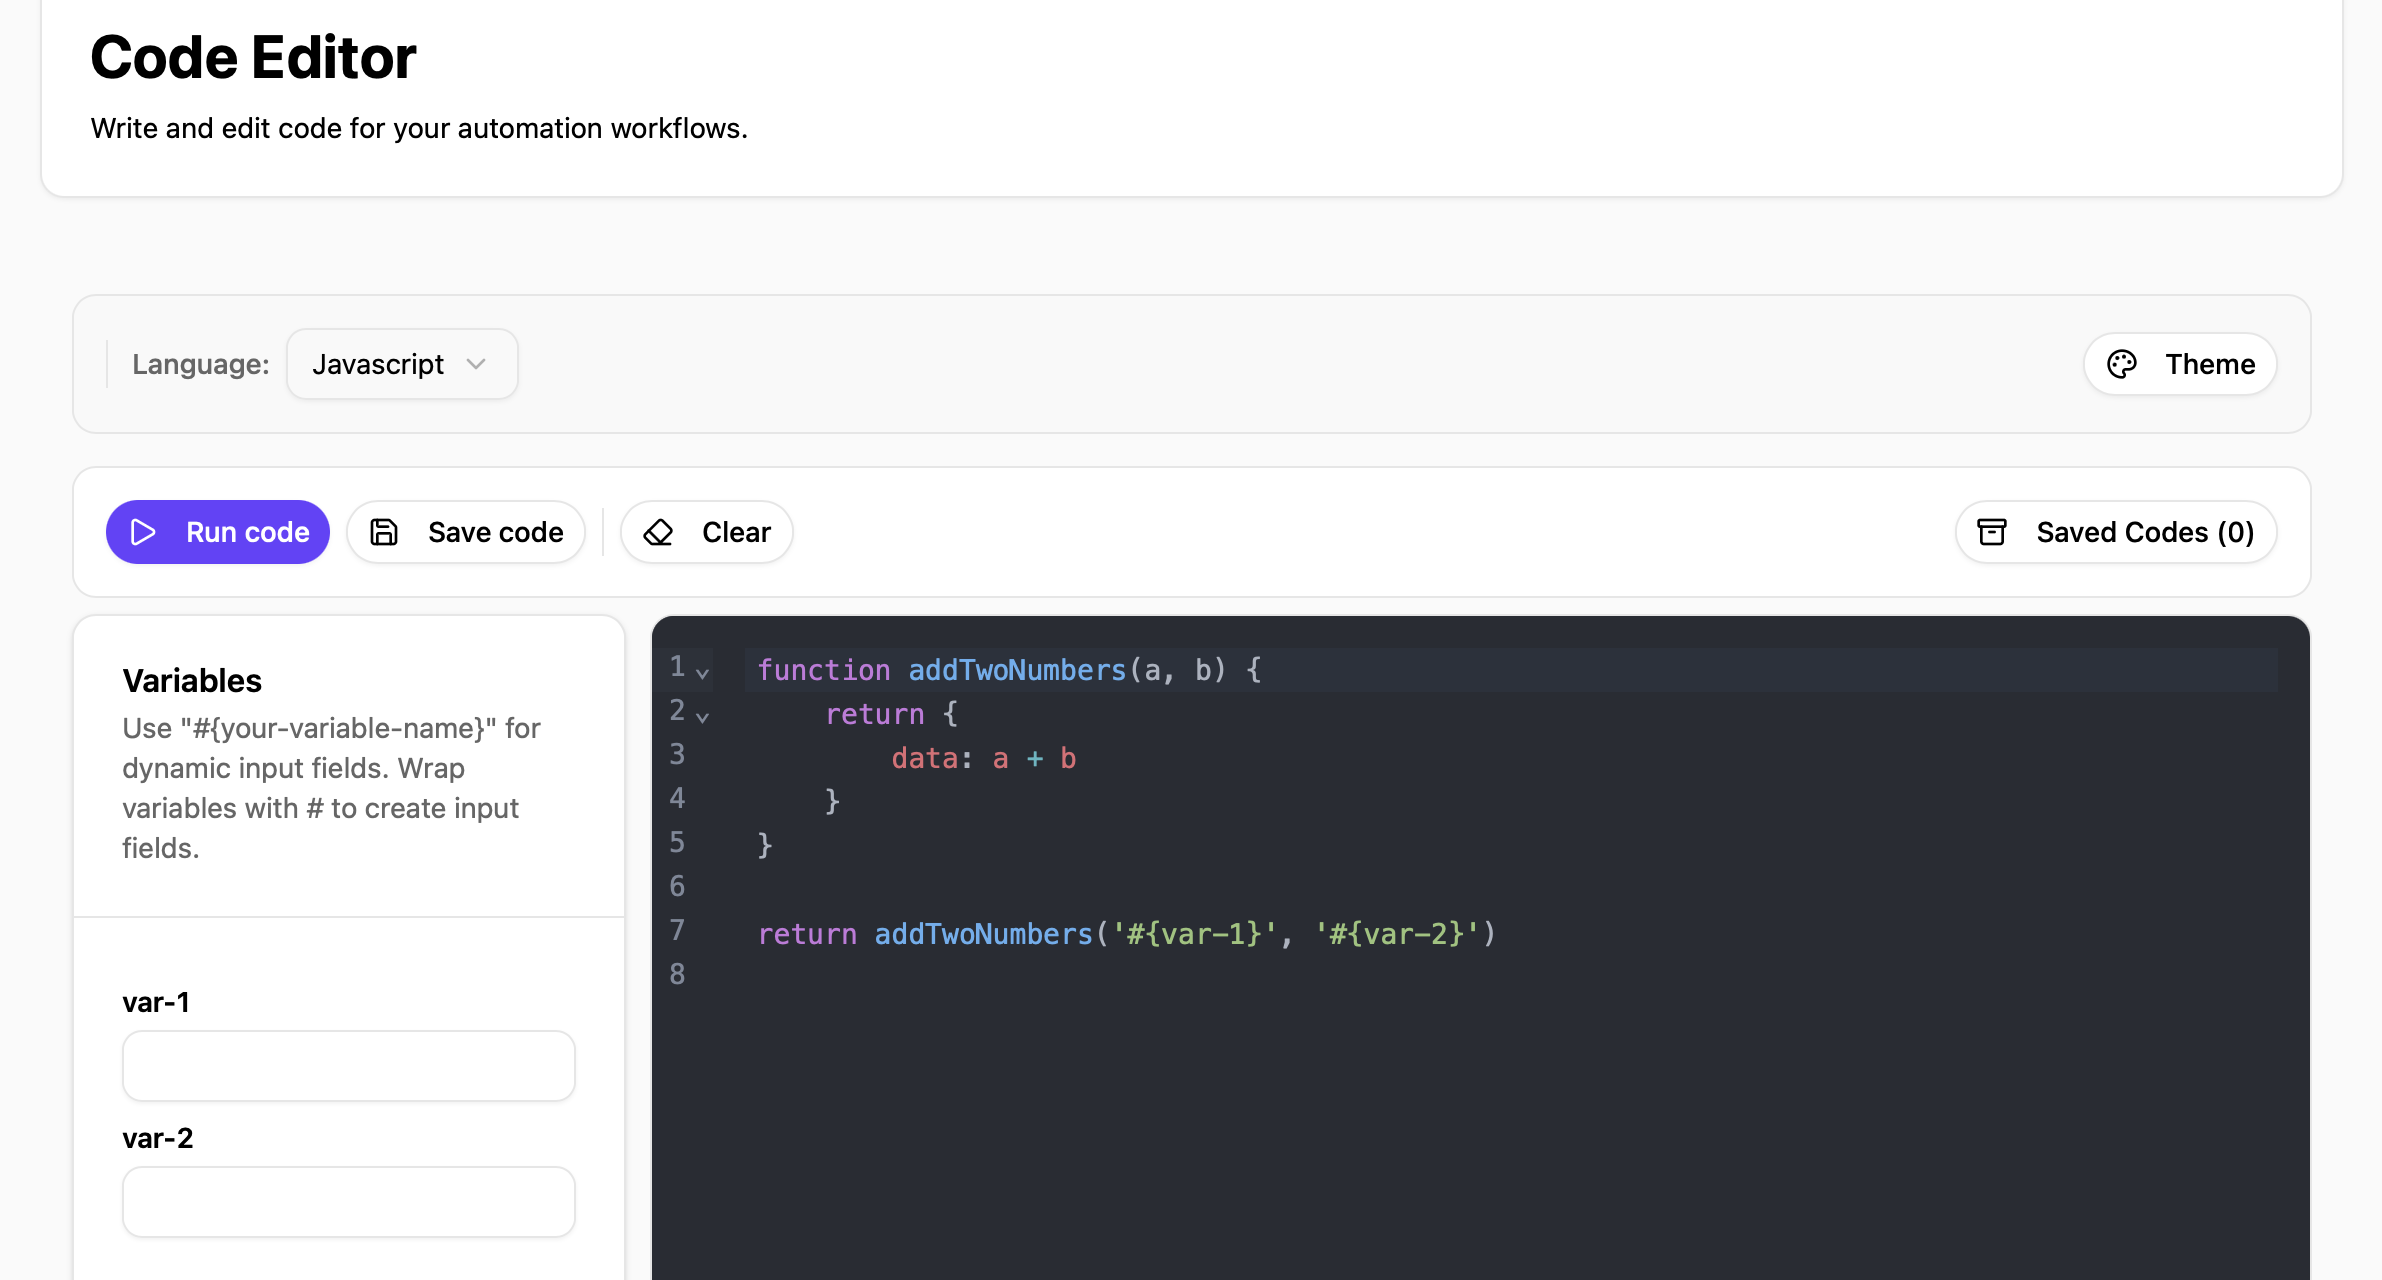
Finally, one of our favorite tools: the Code Editor. Using AI, we've developed a tool that can help users to better read and understand their code scripts through syntax highlighting, variable colorization, and error detection. Read more about our Code Editor.
