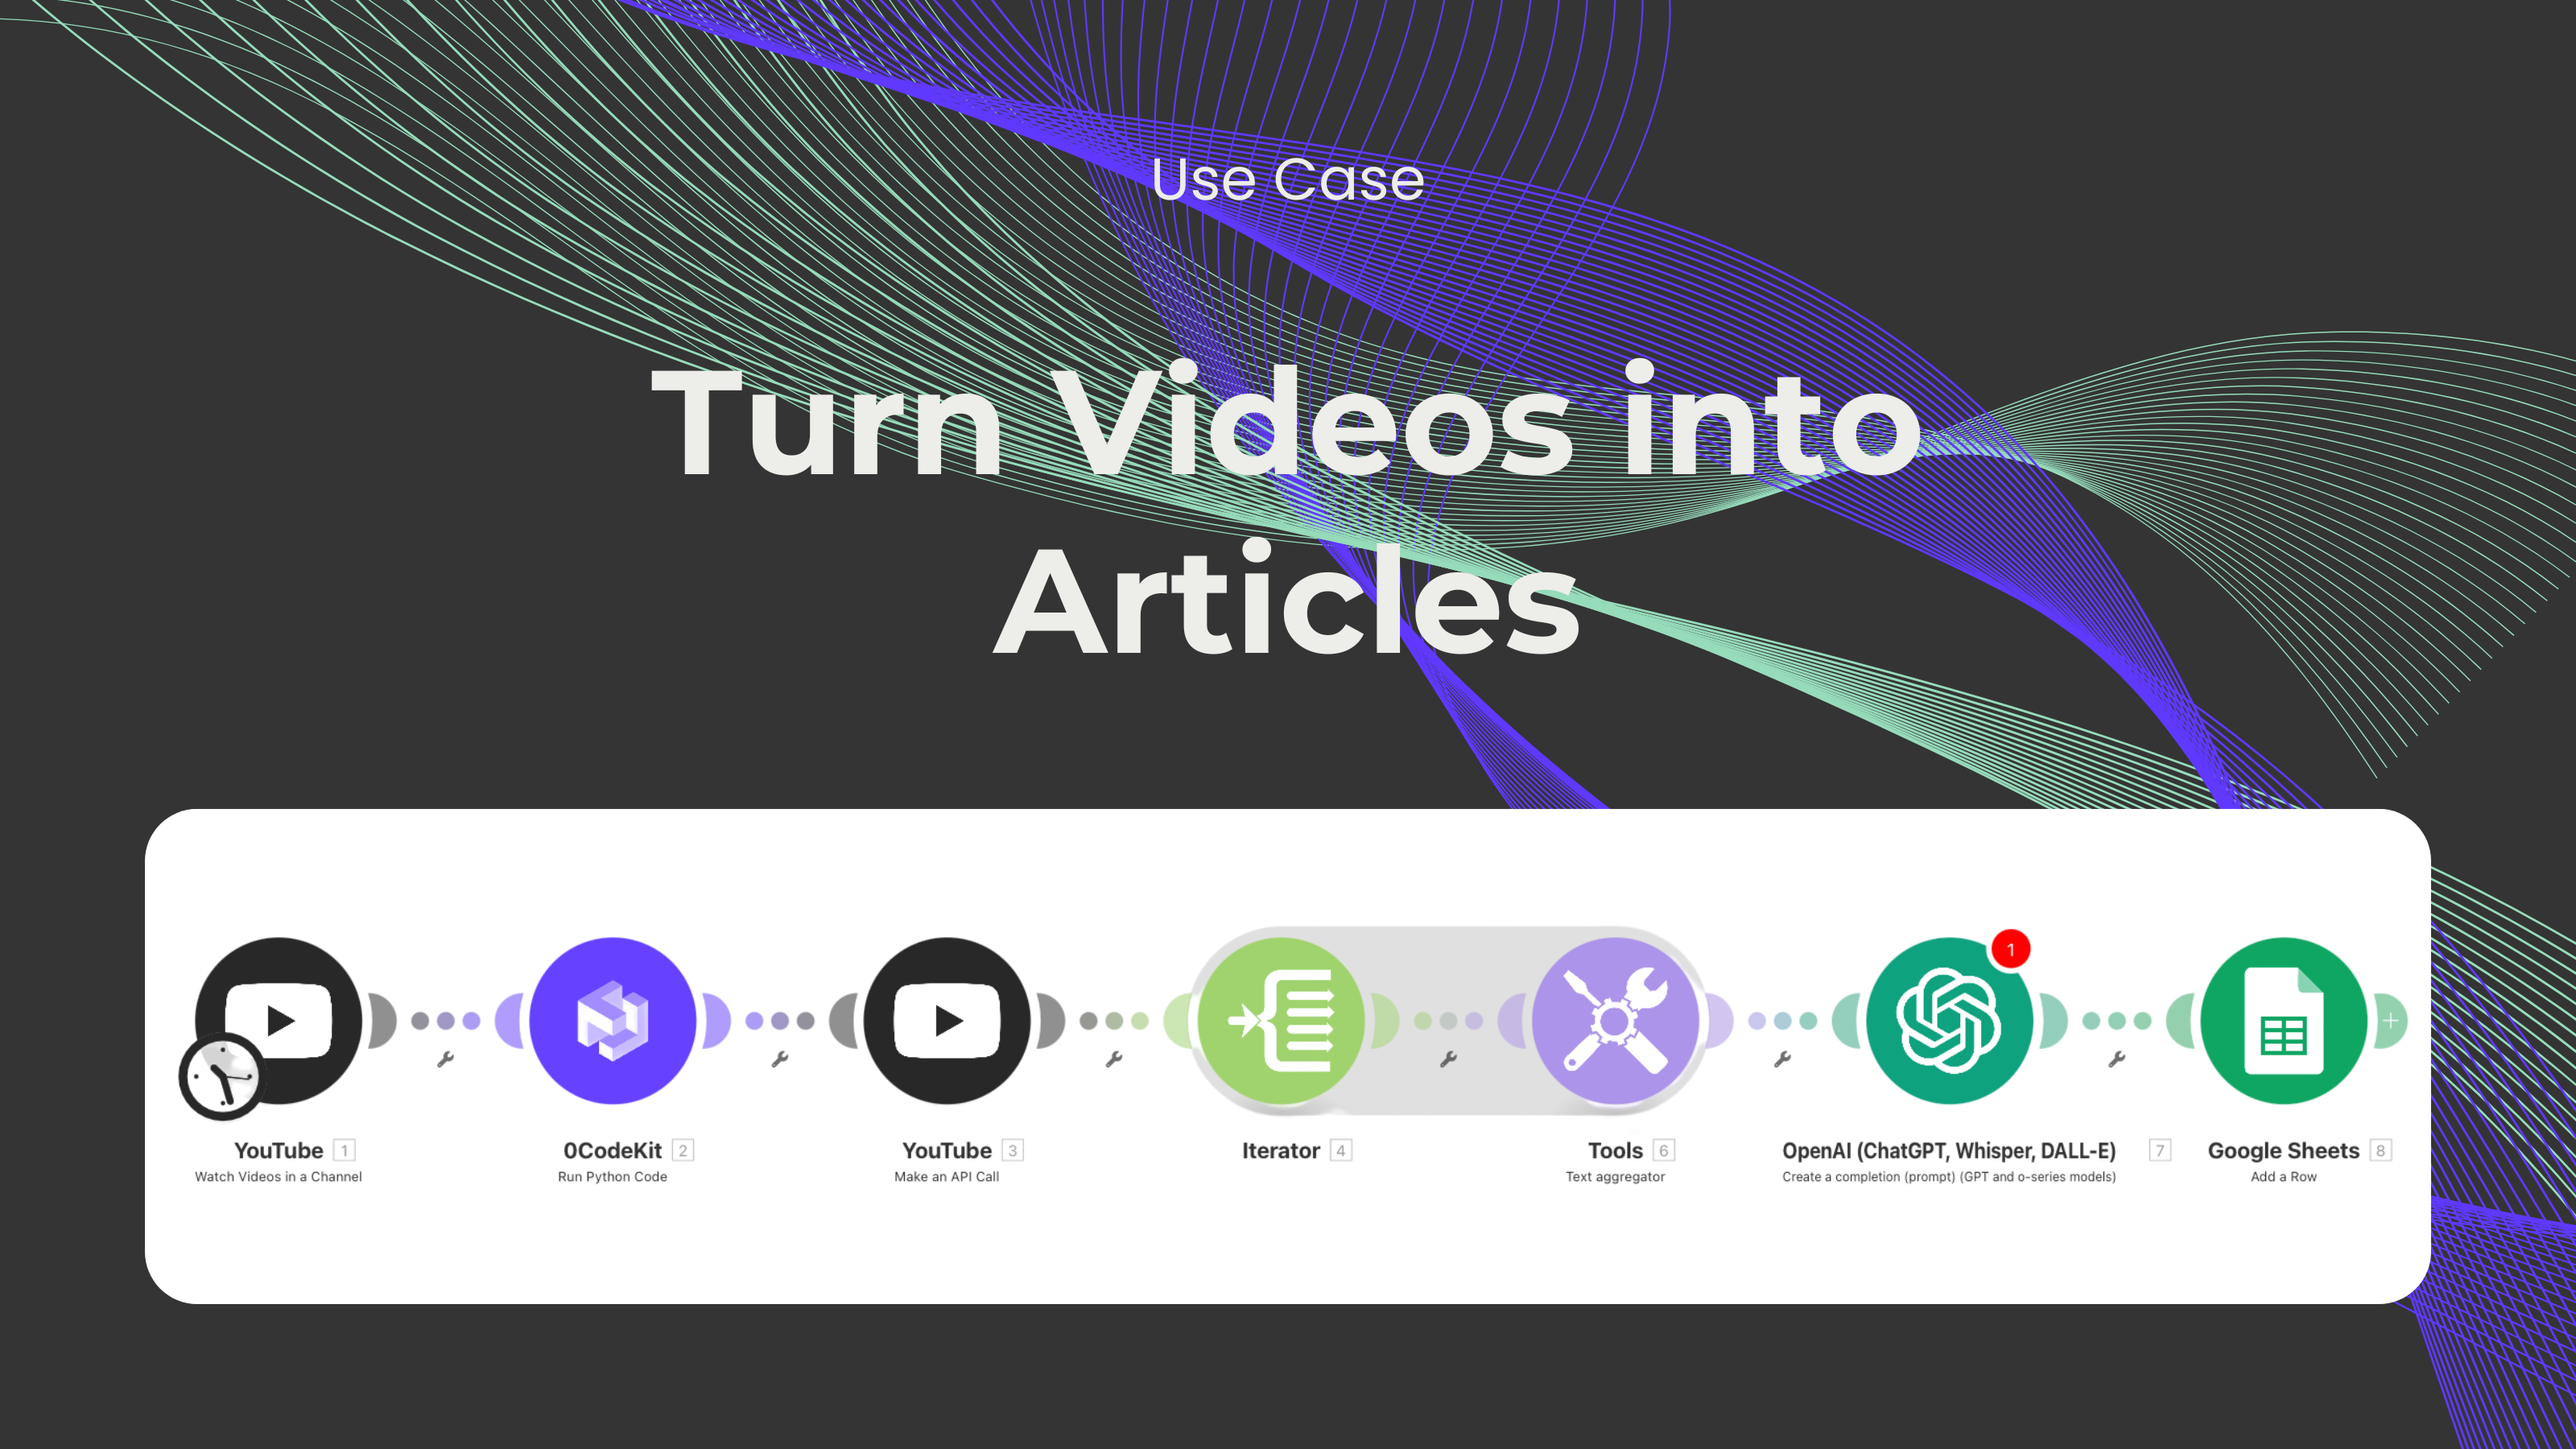
Turn Video Content into Articles


Creating content is NOT easy. There are a ton of things content creators must consider: the type of content, the target audience, the social media platforms, etc. Moreover, it's especially challenging when you're working with many different platforms at once, since you must figure out a way to convey the same message across different platforms.
We've recently experienced this struggle as a lot of content is now made on video platforms like YouTube and TikTok. There are a lot of cool use cases on these platforms that we'd like our audience to see and try. Therefore, we transcribe the videos, check what content we want to use, and then write content about these automations.
Talking about cool automations, we found an amazing automation on YouTube that solves this same problem. In this blog, you'll learn how to automatically create articles based on the content of a YouTube video.
For this automation, we're going to need the following tools: Make, YouTube, 0CodeKit's Python Executor, OpenAI, WordPress (optional), and Google Sheets.
Step 1: Data sources in Google Sheets (optional)
For this module, we'll need a Google Sheet document with 2 columns. The first column will be called "Video IDs", which will contain the ID of the videos that we would like to get the content from. The second column will be called "Status", which indicates if the videos have been processed or not. This first step is optional, as it'll mostly be to keep track of the videos that have already been processed.
Step 2: Fetch details from YouTube Videos
For this, we'll need a YouTube module that will list the videos from a channel. This module will extract the title, the description, and the status of the video.
Step 3: Extract the transcript with Python
With the help of a custom code script, 0CodeKit's Execute Python code endpoint will accurately extract the complete transcript of the video, even if the closed captions on YouTube are unavailable or incomplete.
Step 4: Extract the statistics and keywords from videos
For better content, we can also use a YouTube Analytics module, which will get information on the performance and keywords of the video. By considering these details, we can identify the aspects and keywords that have made the video gain a lot of popularity.
Step 5: Create articles with OpenAI
Once we have enough content, we pass the transcript and analytics to a ChatGPT module. Based on this information and a customized prompt, ChatGPT will transform this content into a blog post or article.
Step 6: Convert the text into HTML (optional)
This step is important if you want to publish the article on WordPress, since this will make sure that the headings, paragraphs, and other content are properly formatted. Special HTML tags or attributes are included in this.
Step 7: Upload the content to WordPress (optional)
After generating a draft, this automation will upload the article into WordPress, including the headings, text, tags, metadata, and any other relevant information. You can customize this module depending on how much you trust AI to generate content. In other words, you can tell the automation if the article should be posted immediately or if it should be saved as a draft for you to review before publishing it.
Step 8: Change the status on Google Sheets
Once the article has been published or saved as a draft, the status of the Google Sheet document will be changed to "processed".