Email Validation Tutorial
.png)
When working with businesses and other people, the usual form of communication is email. These are sent between coworkers, partners, and customers in a formal setting and are used to communicate essential information. For this reason, emails are crucial for the daily operations of any professional or individual, but to be able to share this information, we must make sure that the email addresses we have are correct.
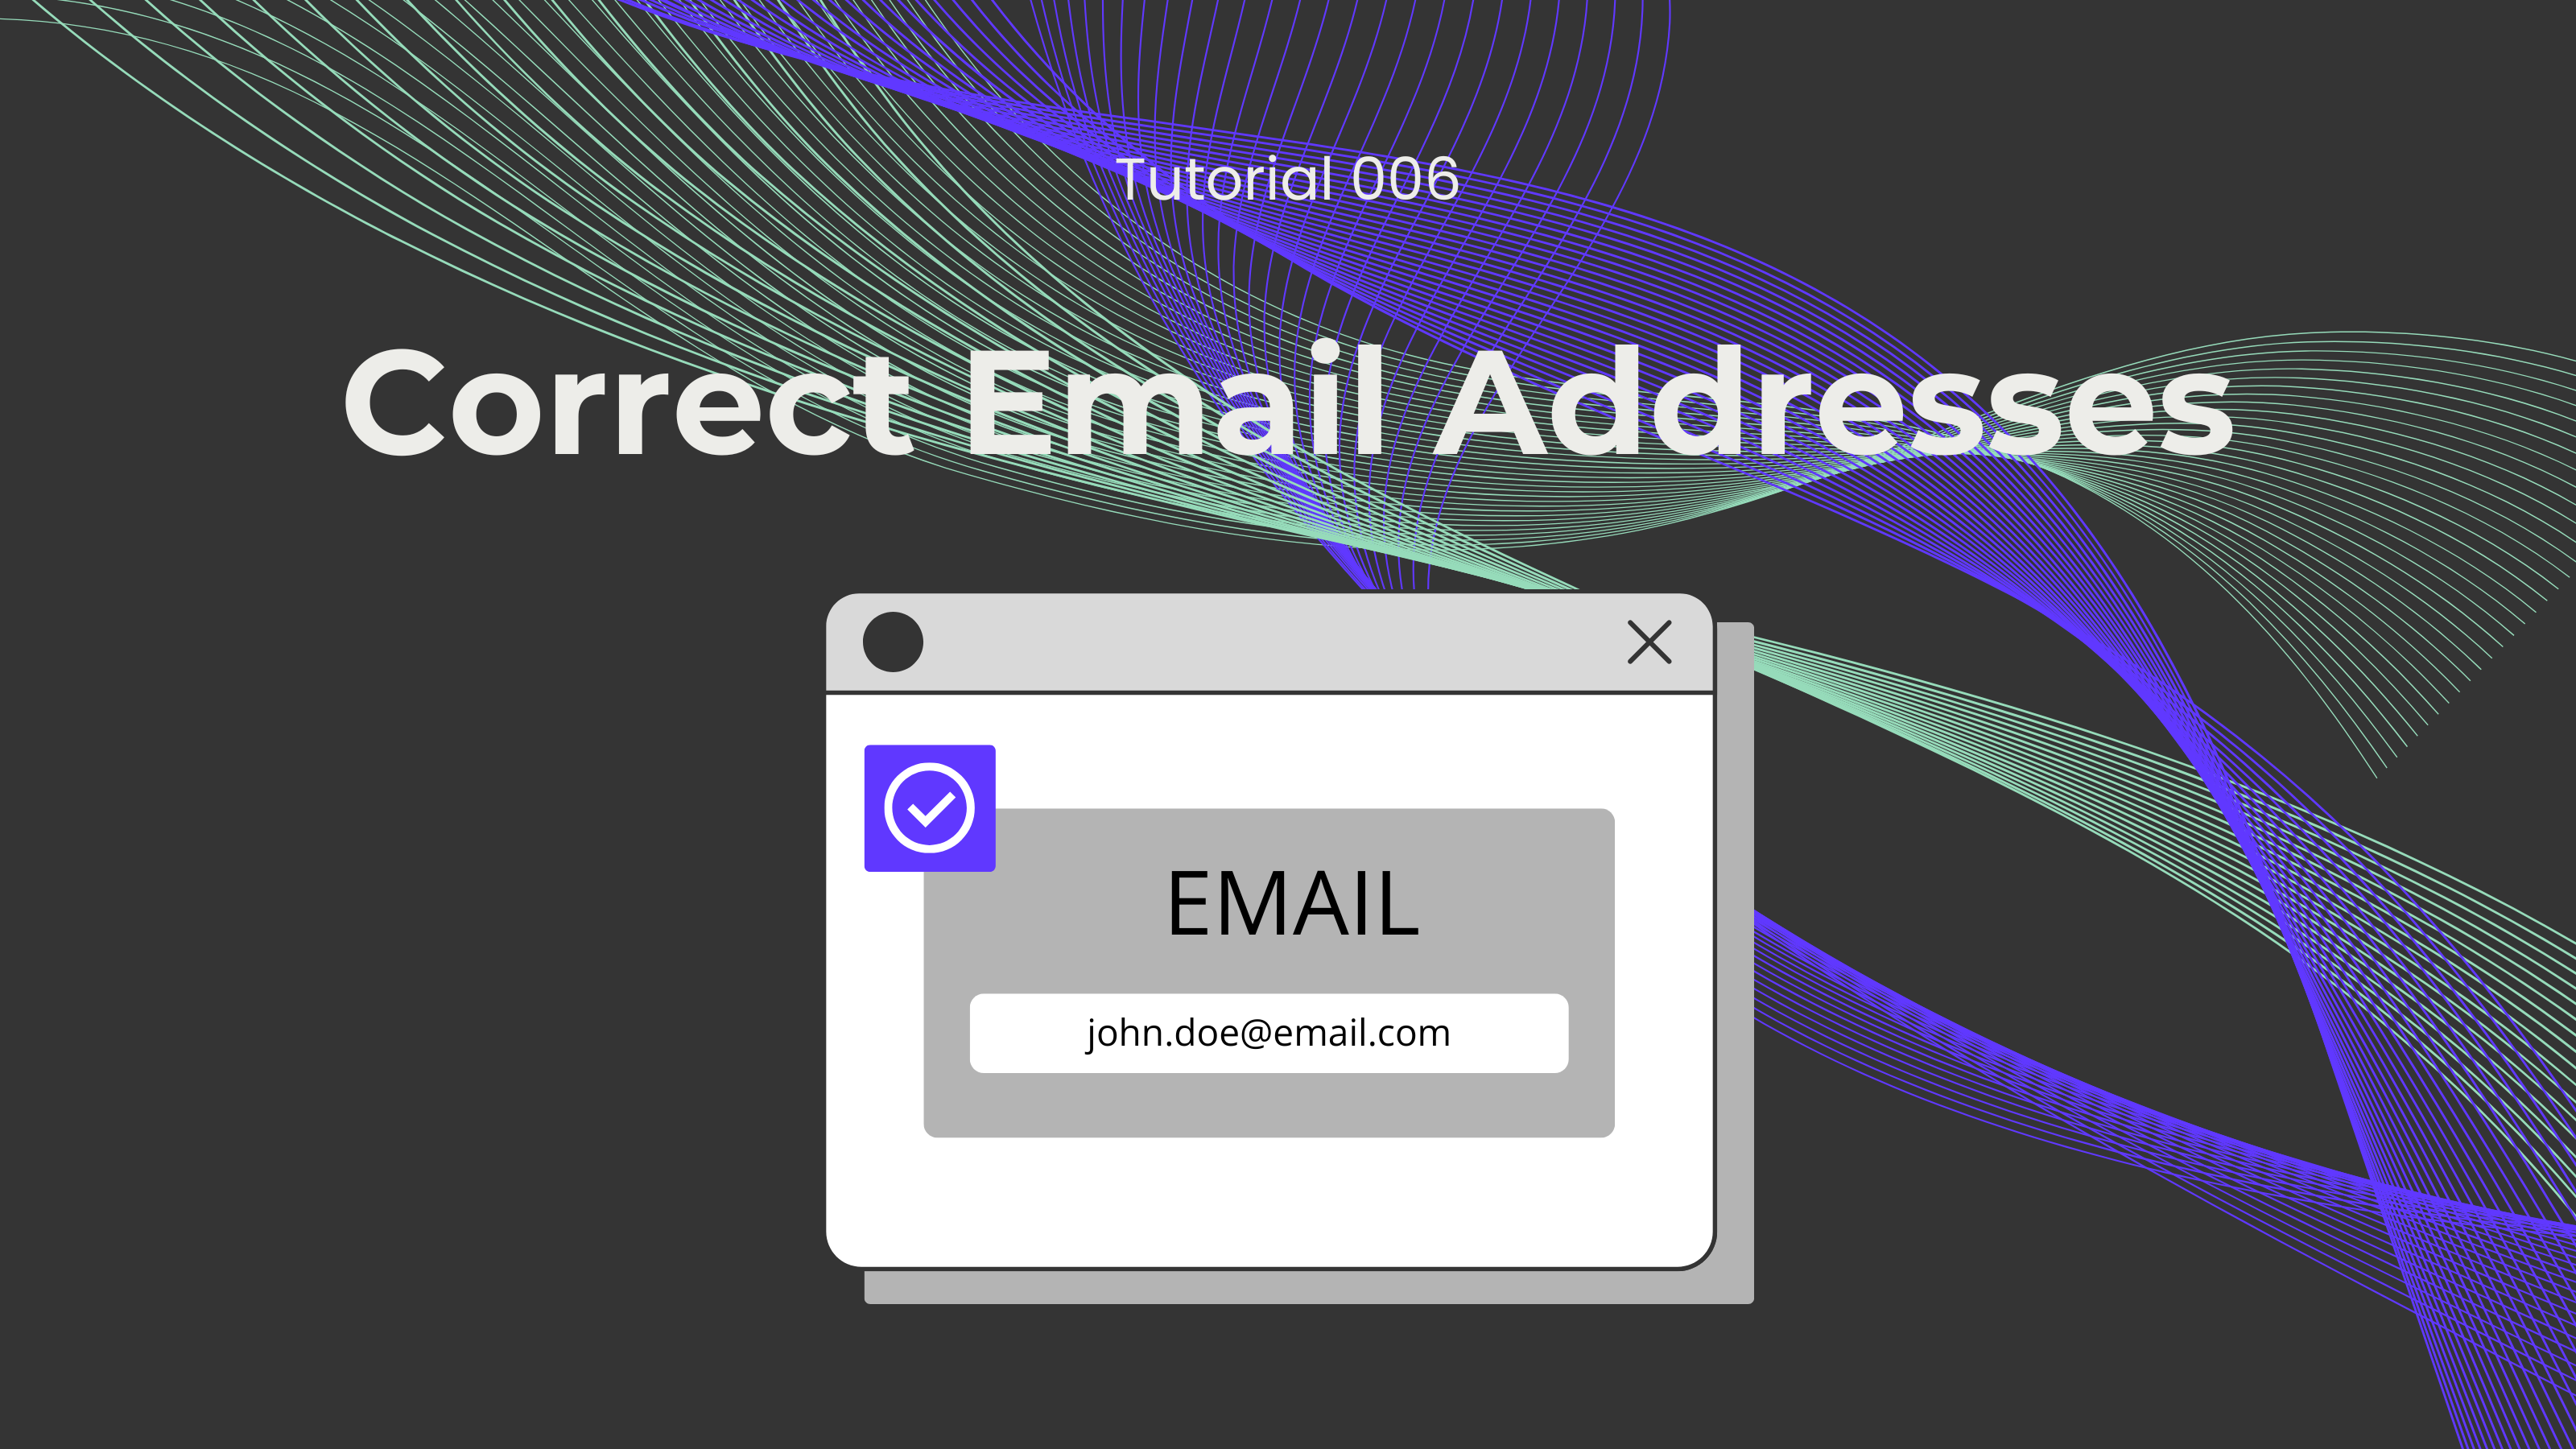
Has it happened to you that during a conversation or a call, someone has dictated an email address, but when you tried to send an email, you noticed that the email address was incorrect? This can be very dangerous for anyone, because one could be sharing important information with a person who is not involved in this matter. Luckily, we have the perfect endpoint to avoid this kind of problem: Validate an email!
Not a fan of reading? No problem! Check out our quick, easy-to-follow video tutorial to learn everything you need.
First, we need to log in or sign up for Make and create a scenario. Then, we have to click on the empty module, and an app menu will pop up. We now select the 0CodeKit app and search for the event "Verify an Email and Correct It". It will automatically ask you to create the connection between 0CodeKit and Make, which can be done with your 0CodeKit API key.
Now, the only thing we need to start validating emails is the email addresses. Next are some examples of the output of a correct email address and the output of an incorrect email address.

