How to Run Python Code in n8n


Python can be defined as an object-oriented, high-level, interpreted language with dynamic semantics. Python is employed when developing websites and applications, sorting and moving data, and handling routines, among many others, and it can be beneficial in your automation as well. Now let’s see how you can run Python in n8n. Here are two usual ways of running Python, which will be described in detail.
n8n is a crucial open-source workflow automation tool that empowers users to link numerous apps and streamline various workflows without using one line of code. If you are seeking to execute some Python scripts to manipulate the data or develop some operation that n8n does not incorporate yet, then the PythonFunction node helps you. In this article, we will explain how you can use the PythonFunction node to access Python in n8n and how to use it.
The recommended method for performing the installation is by downloading the n8n-python Docker Image, as it includes the PythonFunction node. Depending on the task you want to perform with the image, you can opt for one of the two variants of the image. If you are planning to install heavy Python packages such as NumPy or Pandas, use n8n-python:latest-debian. For a more lightweight image, use n8n-python: latest.
Should one wish to add external packages, one can proceed and mount a requirements.txt file to the container and use the Execute Command node to execute pip install -r requirements.txt. The n8nTrigger node can be triggered after every restart.
If you are likely to self-host n8n and the PythonFunction node, then you will need to install Python 3.6 or higher and the python-fire package. Then, you can include the n8n-nodes-python module in the n8n instance.
We present a more straightforward way to perform Python code execution in n8n if you use our Python endpoint.
If you want to know how to connect 0CodeKit to n8n, you will find it very easy in this guide, we promise!
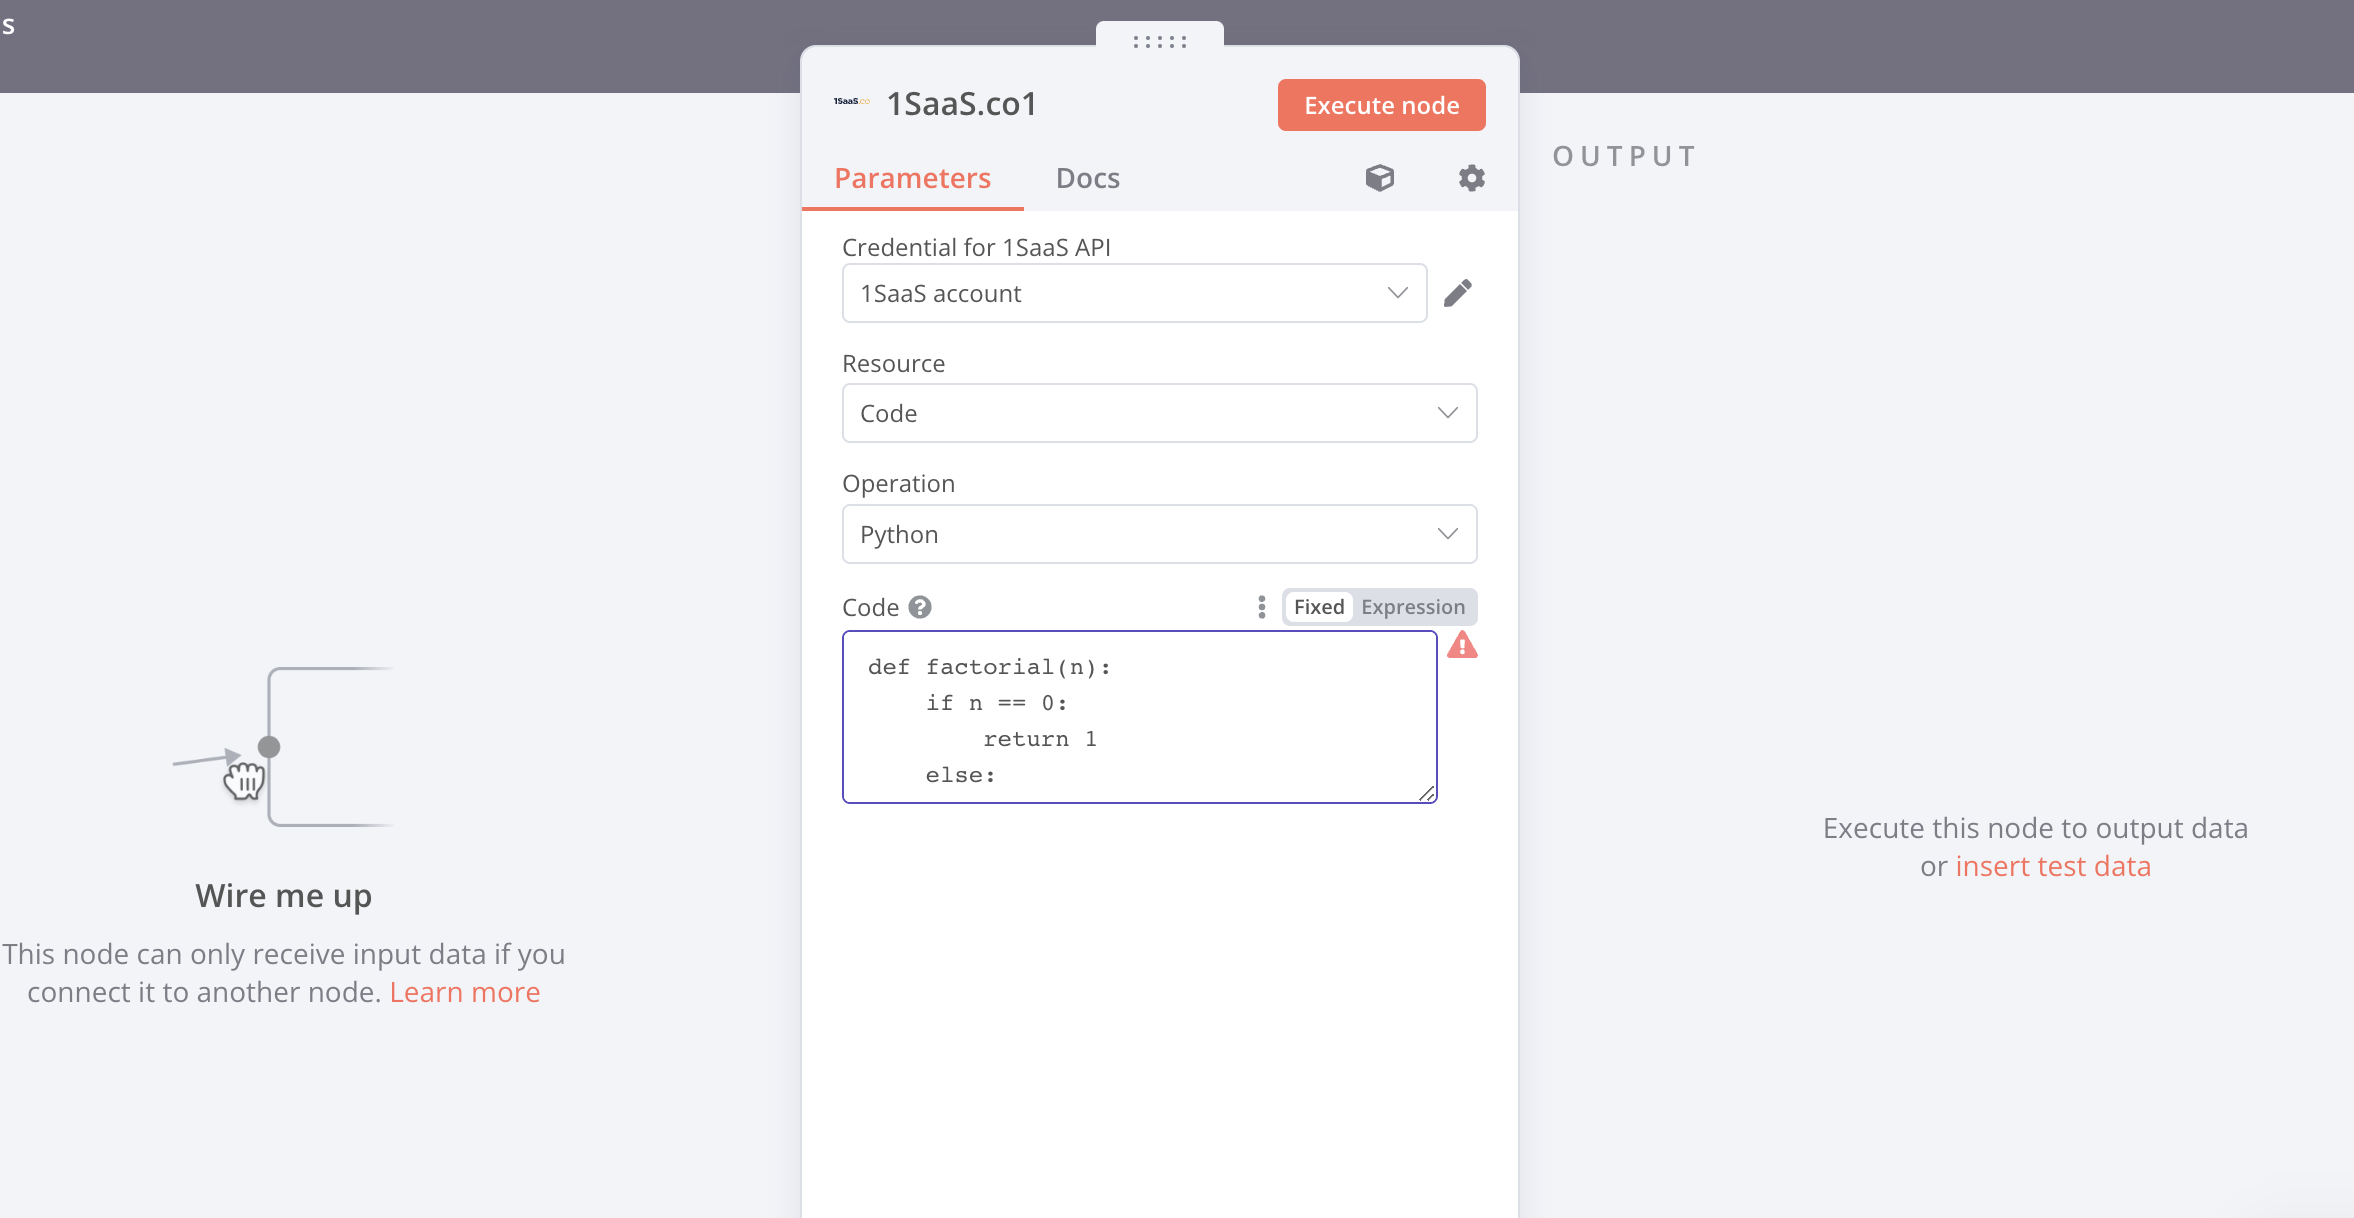
The steps of running the Python code with 0CodeKit are somewhat different from the typical process. First, you must connect and find the node for the Python code in the section ‘resource,’ under the category ‘code.’ Although it has some drawbacks, like the inability to select Python as the language directly, there are many resources, including documentation, that can be helpful.

The major thing to consider when running the Python code in 0CodeKit is that there is a required format to follow when you define your functions. Any function that returns a value must be in the area marked as ‘result data’, where one must insert the name of the respective function instead of ‘your variable’. This works as the function's return statement.
For example, a function that multiplies two numbers can be selected. Your function could have two inputs, number 1 and number 2, and a return value of their result. The result data calculation would then be assigned to the function’s result.
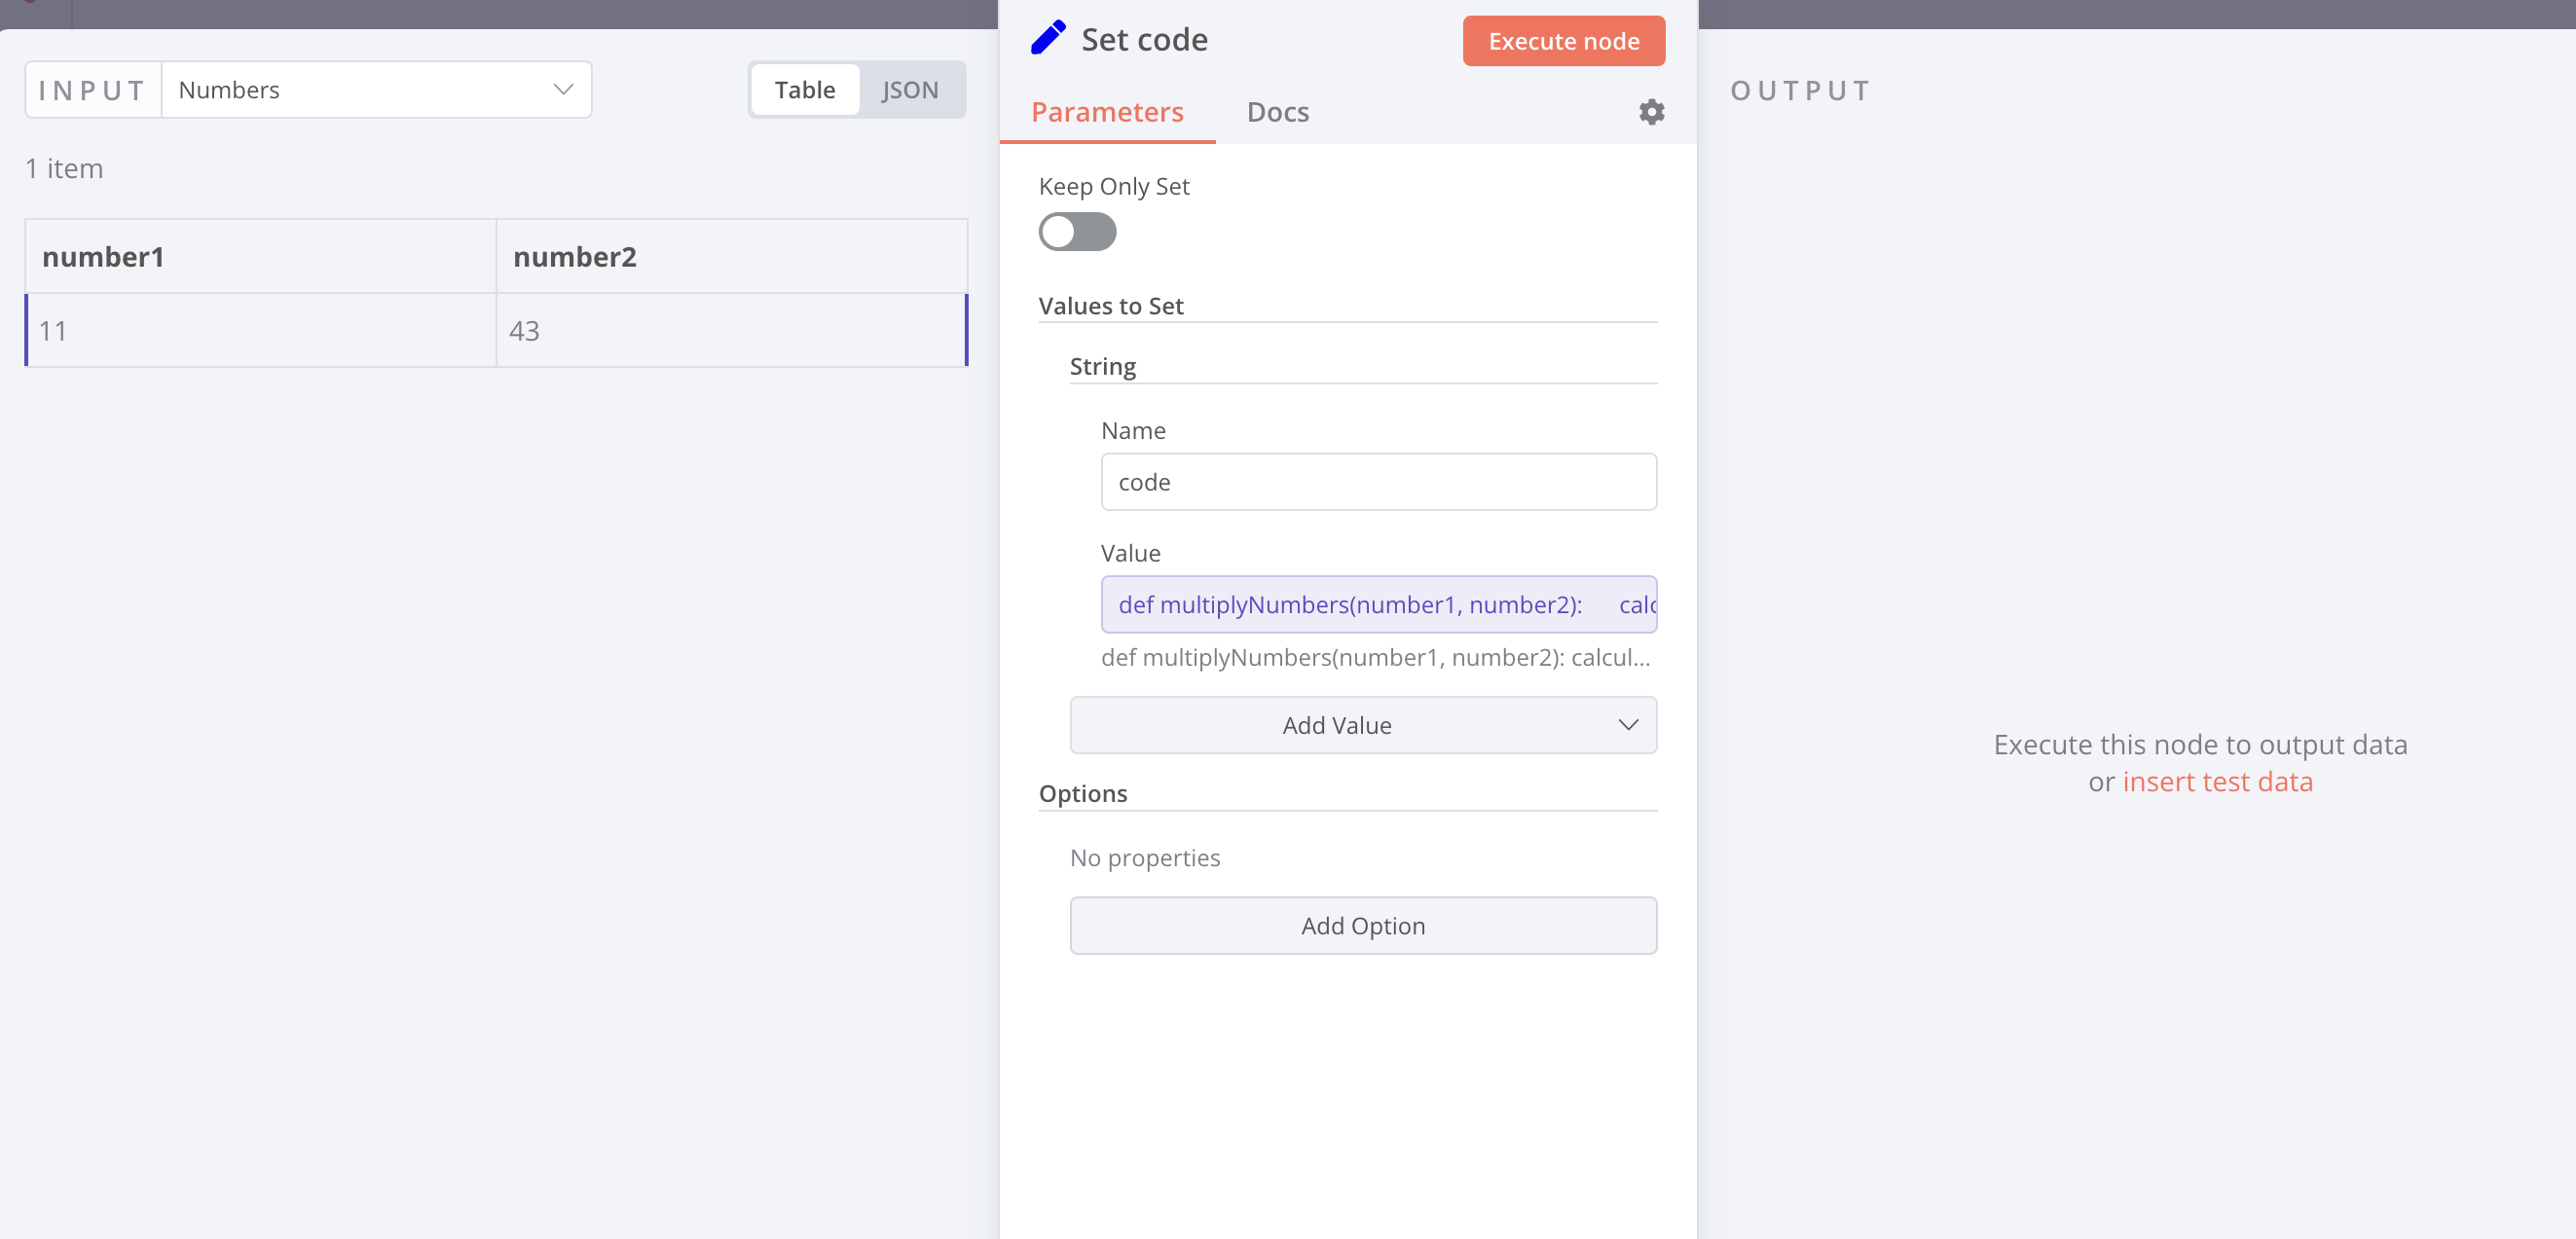
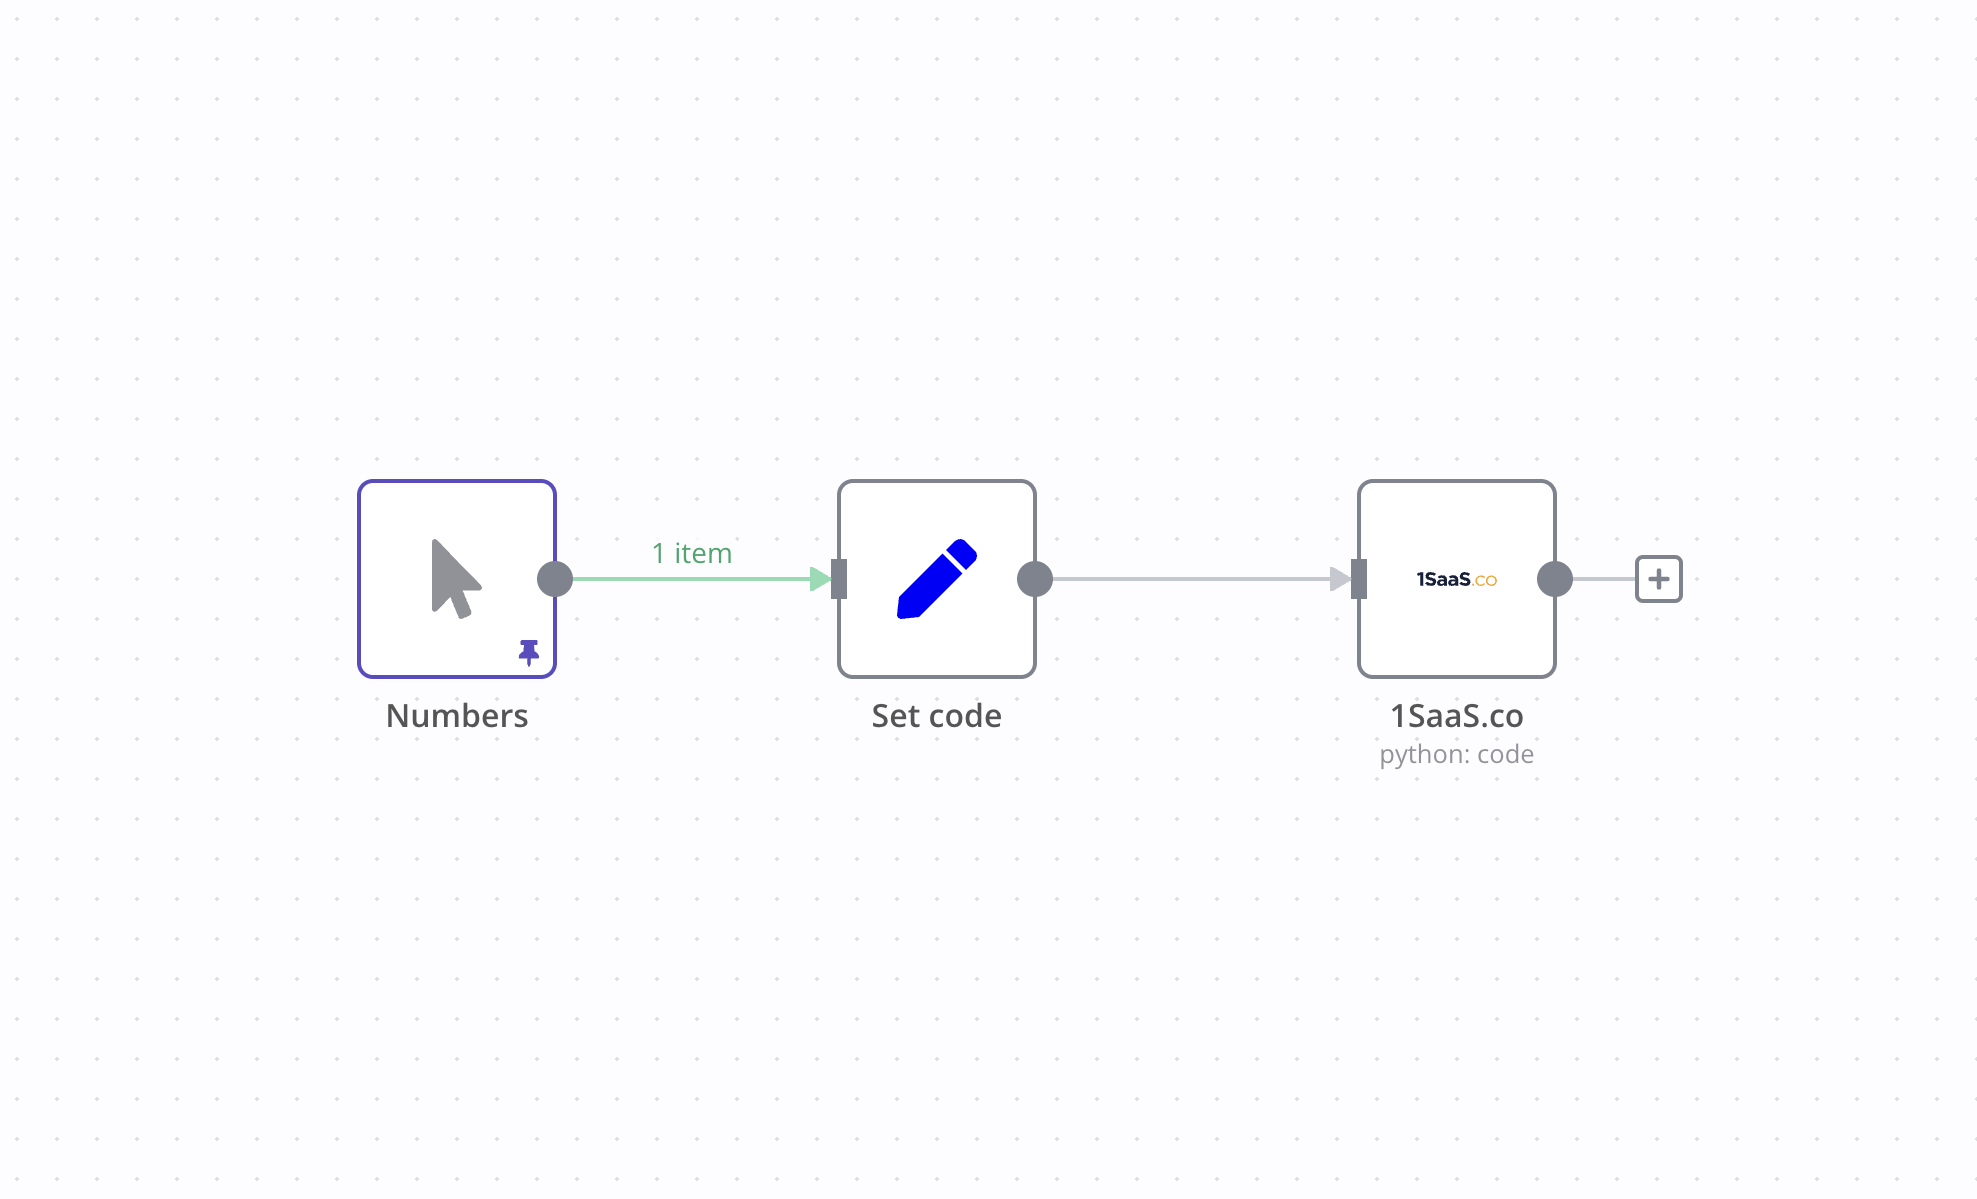
It is also possible to input dynamic parameters into 0CodeKit. With the help of the ‘set node’, one can bind parameters to an existing object. For instance, to make these parameters dynamic, you could use the set node to assign to the number 1 and the number 2 to the multiplication function. The function, defined as a string, is then added to the 'code' field of the object.

Lastly, it is possible to call the function using the corresponding parameters, which may involve changing values that are received from another source. After a check, you will have to pick the Python string with the specified values from the dashboard and observe the execution outcome. This setup is dynamic and allows for an easy change of all forms of input, as well as supports the performance of several nuanced codes.

Remember that, to accomplish your goal, you need to make frequent references to the documentation given and know the platform-specific coding style.