CSV to JSON Conversion Automation


When working with large amounts of data, such as in a CSV file, it can be difficult to process this information and convert it to a more specific format, such as JSON. In this post, we'll explain how to create a basic automation, where a 0CodeKit module processes CSV data into JSON to send to an API or other application.
The purpose of this automation is to bring a CSV file, a flat file format used in the storage of conventional tabular data, into a JSON object. JSON is a lighter format and is used largely for data exchange between systems, especially while interacting with APIs.
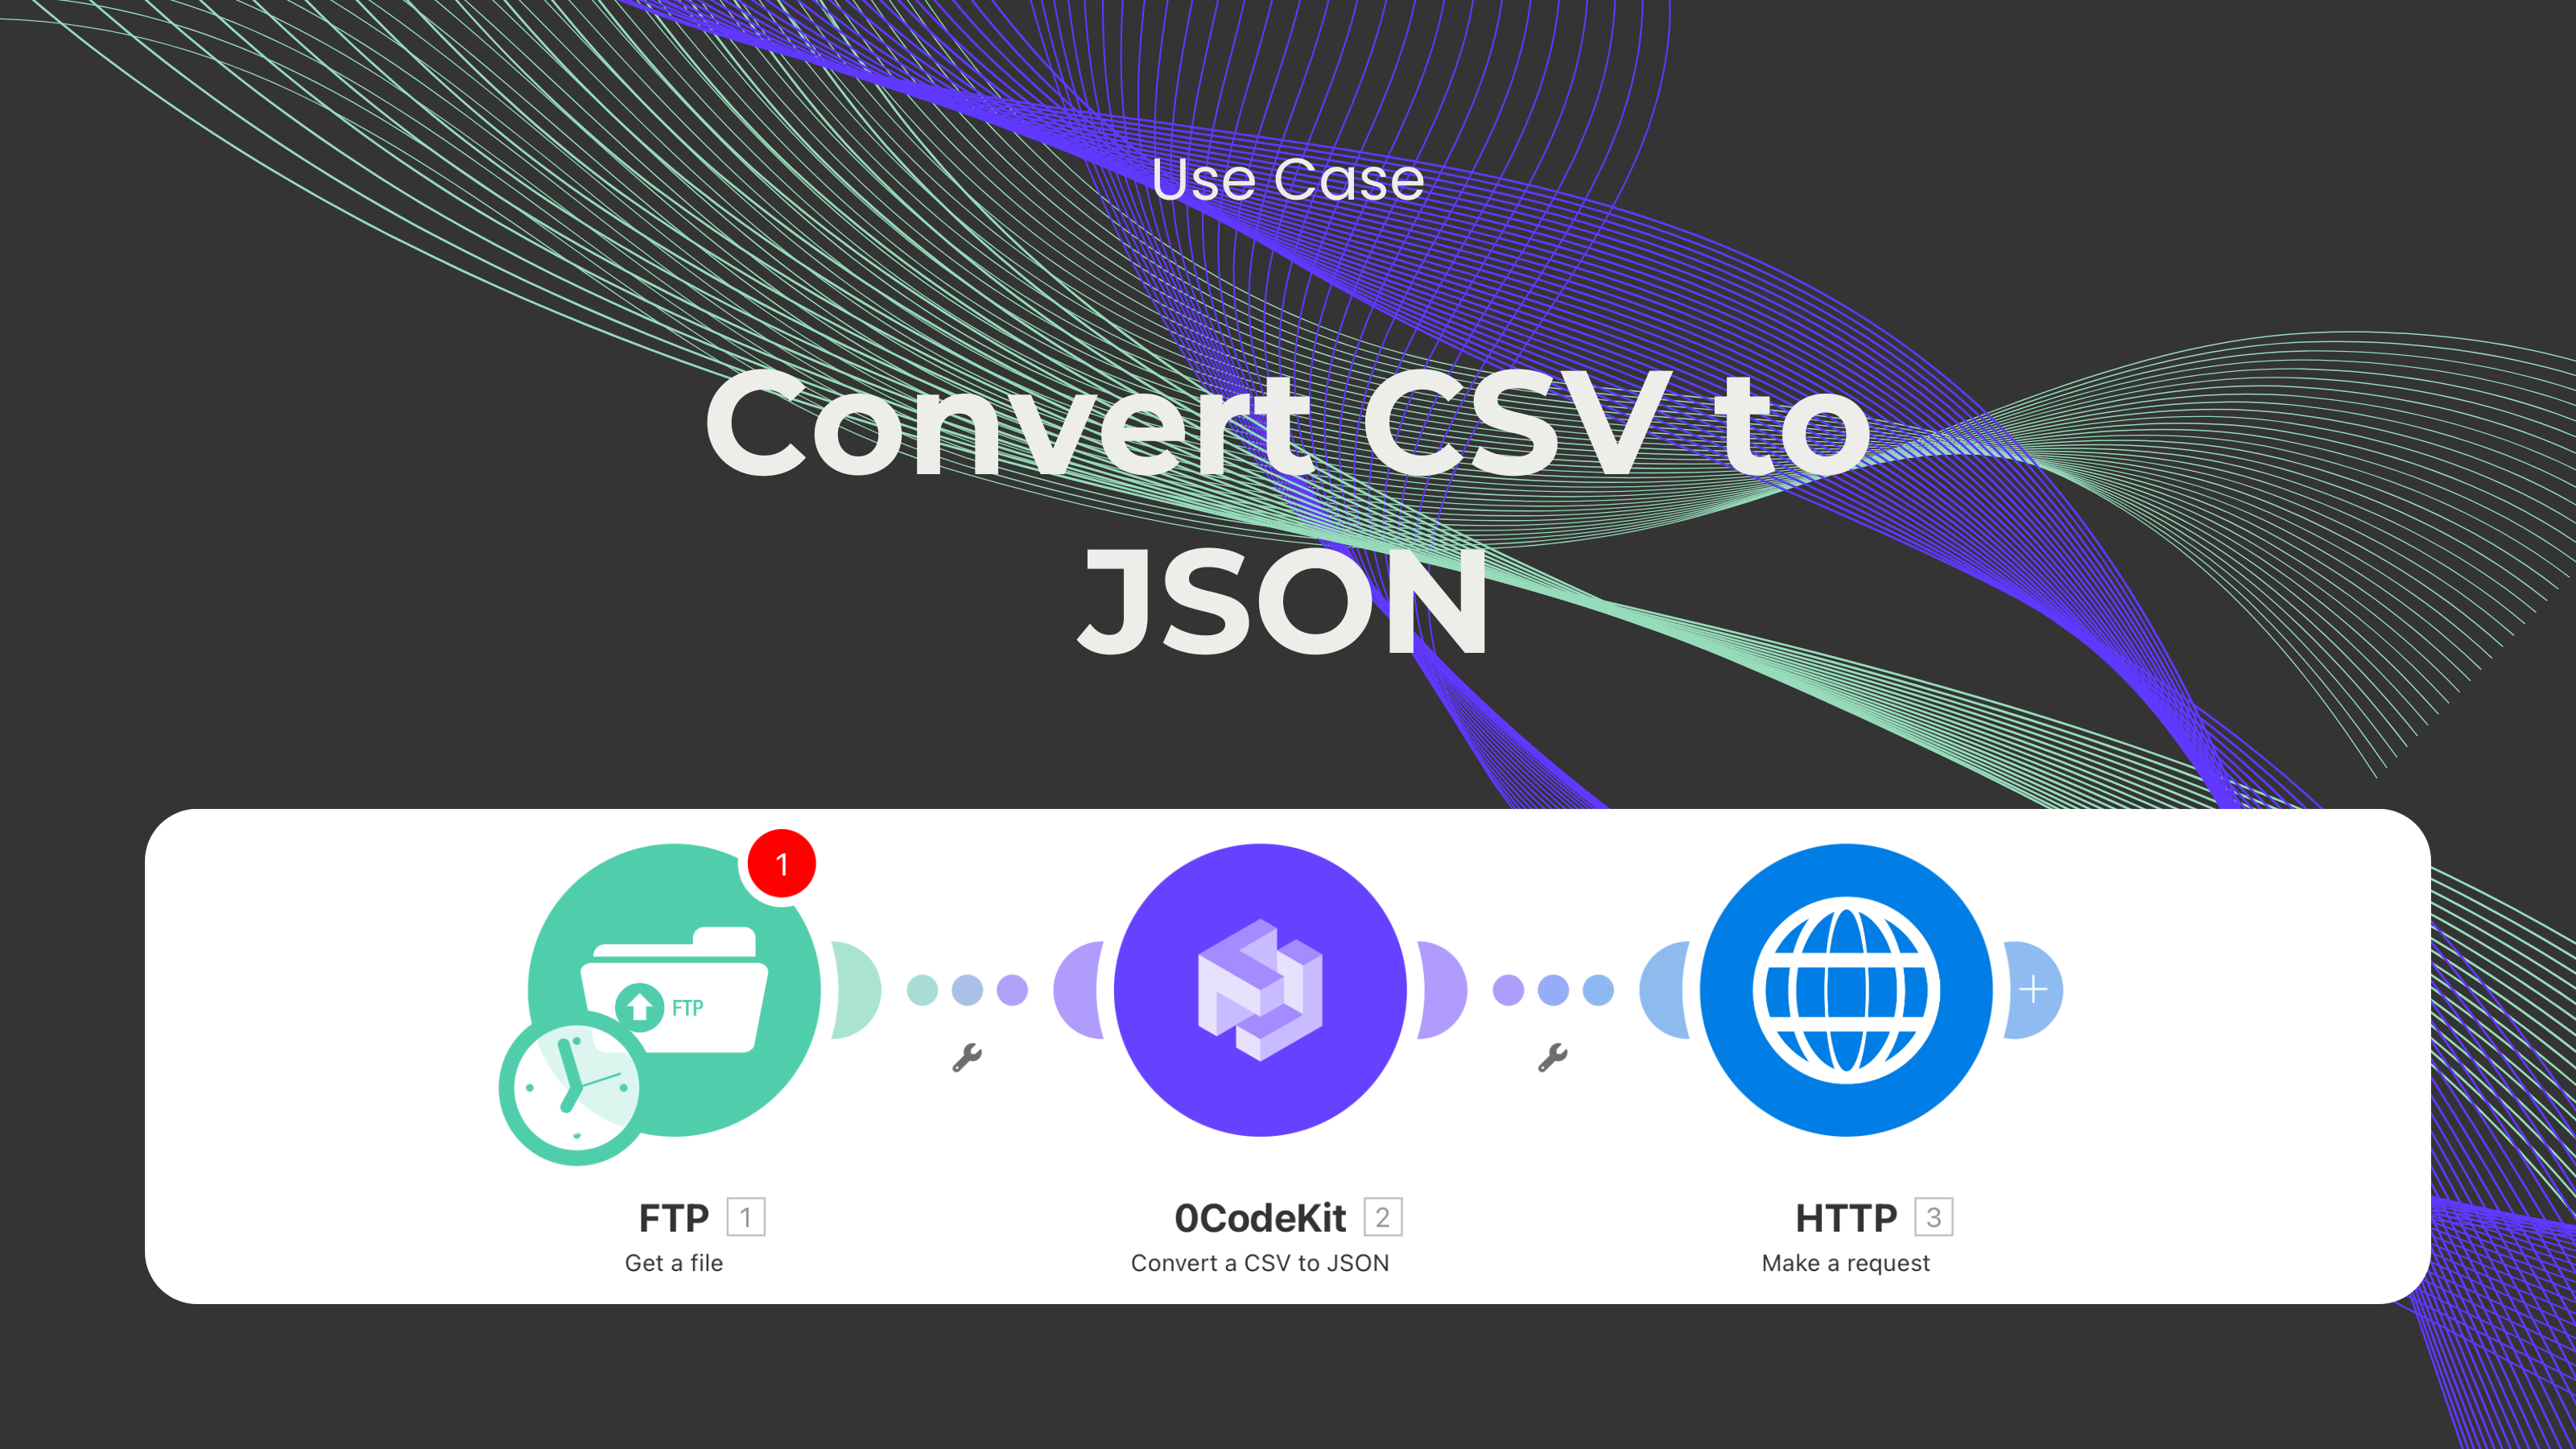
Here’s how the process works:
A CSV file is a basic text document that contains records represented with rows and columns, which are separated by commas. Although CSV is relatively easy to use and comprehend, it can be slightly limited in what it can do, for example, send data to an API. That's why converting it to JSON could be helpful.
The first step in this automation is to establish an FTP connection with a server that contains the CSV file. The idea is that this server could store virtually any kind of data, like invoices, customer lists, or product data. After a connection is established, the automation then initiates the process of downloading the CSV file.
Then, the automation uses 0CodeKit's "Convert CSV to JSON" endpoint module to transform the CSV file into a JSON format. JSON (JavaScript Object Notation) is one of the most widely used formats for data exchange, which can enhance the representation of data in new ways and can be used in any application.
Some options can be used before converting CSV, for example, using the remove option to delete spaces or ignore empty columns. This step will help ensure that the JSON object in the end is clean and ready for use while avoiding making mistakes along the way.
The next process is to share this data with an API. Application Programming Interfaces are widely used to connect various applications or systems, and the most popular data format used in this case is JSON. This automation can be of much help when it comes to updating customer information, sending out invoices, or even processing product data.